Camera Obscura
When the best camera isn't the one you have

At the end of our last adventure I had successfully prototyped a fully functional teleprompter, but it was fragile, unreliable, and took a long time to initialize. I wanted to improve this, but before I did anything more I’d need to work through some big questions.
This issue has taken a lot longer to prepare than I expected. I had a certain set of ideas in mind when I first completed this project, and a different set of ideas when I first started writing about it. By the time I was done writing about what I built and why I built it, those ideas had changed again. I decided to take a little longer to revisit what I was trying to say, and to meditate on the role of incorrect knowledge in the discovery of new things.
The Videoconference Series
The Camera (this issue)
The Display (coming soon)
The Desk (coming soon)
Detailing (coming soon)
Camera Placement
Here’s another reason why video calls feel different than live meetups: when video calling, we see people placed in their environment in positions that we never would choose for a face-to-face meeting. I wanted to create an impression that was less like two people sitting in the middle of a crowded space…
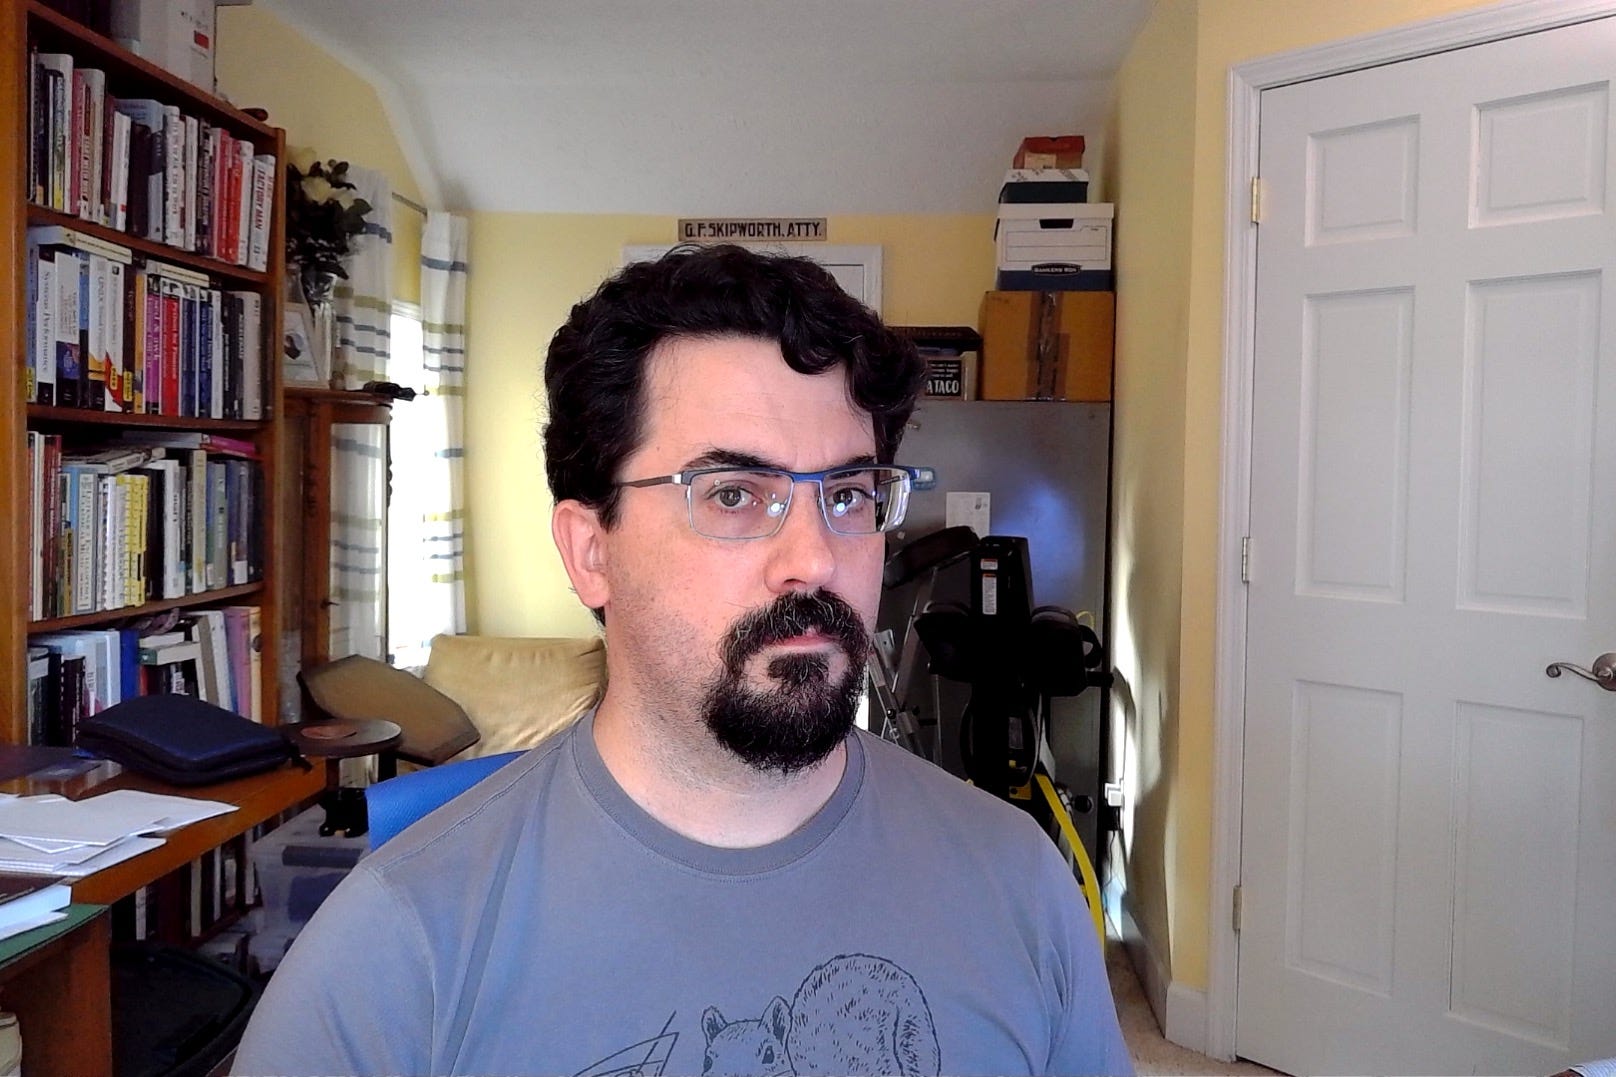
…and more like two people sitting side by side for a conversation:
Our house has a lot of shared spaces and it’s not uncommon for my spouse or kids to enter my office while I’m on a call. Moving the camera to the side helped to minimize this distraction while also giving me a greater feeling of privacy.
Balancing Tradeoffs
Design decisions often seem obvious in retrospect even as they’re confounding at the time. I had three key problems to evaluate:
Which camera should I use?
I had decided where I wanted the camera to be and roughly how the picture should look. I wanted the optical effects that come with a wide aperture and decent lens, but my Canon dSLR was too old to support the EOS Webcam Utility. I was curious about the Raspberry Pi High Quality Camera, but didn’t own one and wasn’t sure how practical it would be to use as a webcam.
What should I use for a display?
I’d been prototyping with an old iPad running Duet Display, but it really taxed the CPU on my laptop, and I wanted something I could leave permanently attached. Yet it is surprisingly expensive to buy small monitors; as of April 2022 I could buy a 55 inch 4K TV from Costco for $300…but a 10 inch 1080p monitor costs $130.
How will I mirror-flip the video on the display?
Because the image I see in my teleprompter has been bounced off a piece of beamsplitter glass, everything will appear reversed or upside-down unless I mirror-flip the video feed – and this isn’t something natively supported by MacOS. This feature is available through secret menus on larger-screen TVs or very small video monitors, but to flip the image on an HDMI feed otherwise required a dedicated piece of equipment that cost $500 or more.
Unpacking Complicated Choices
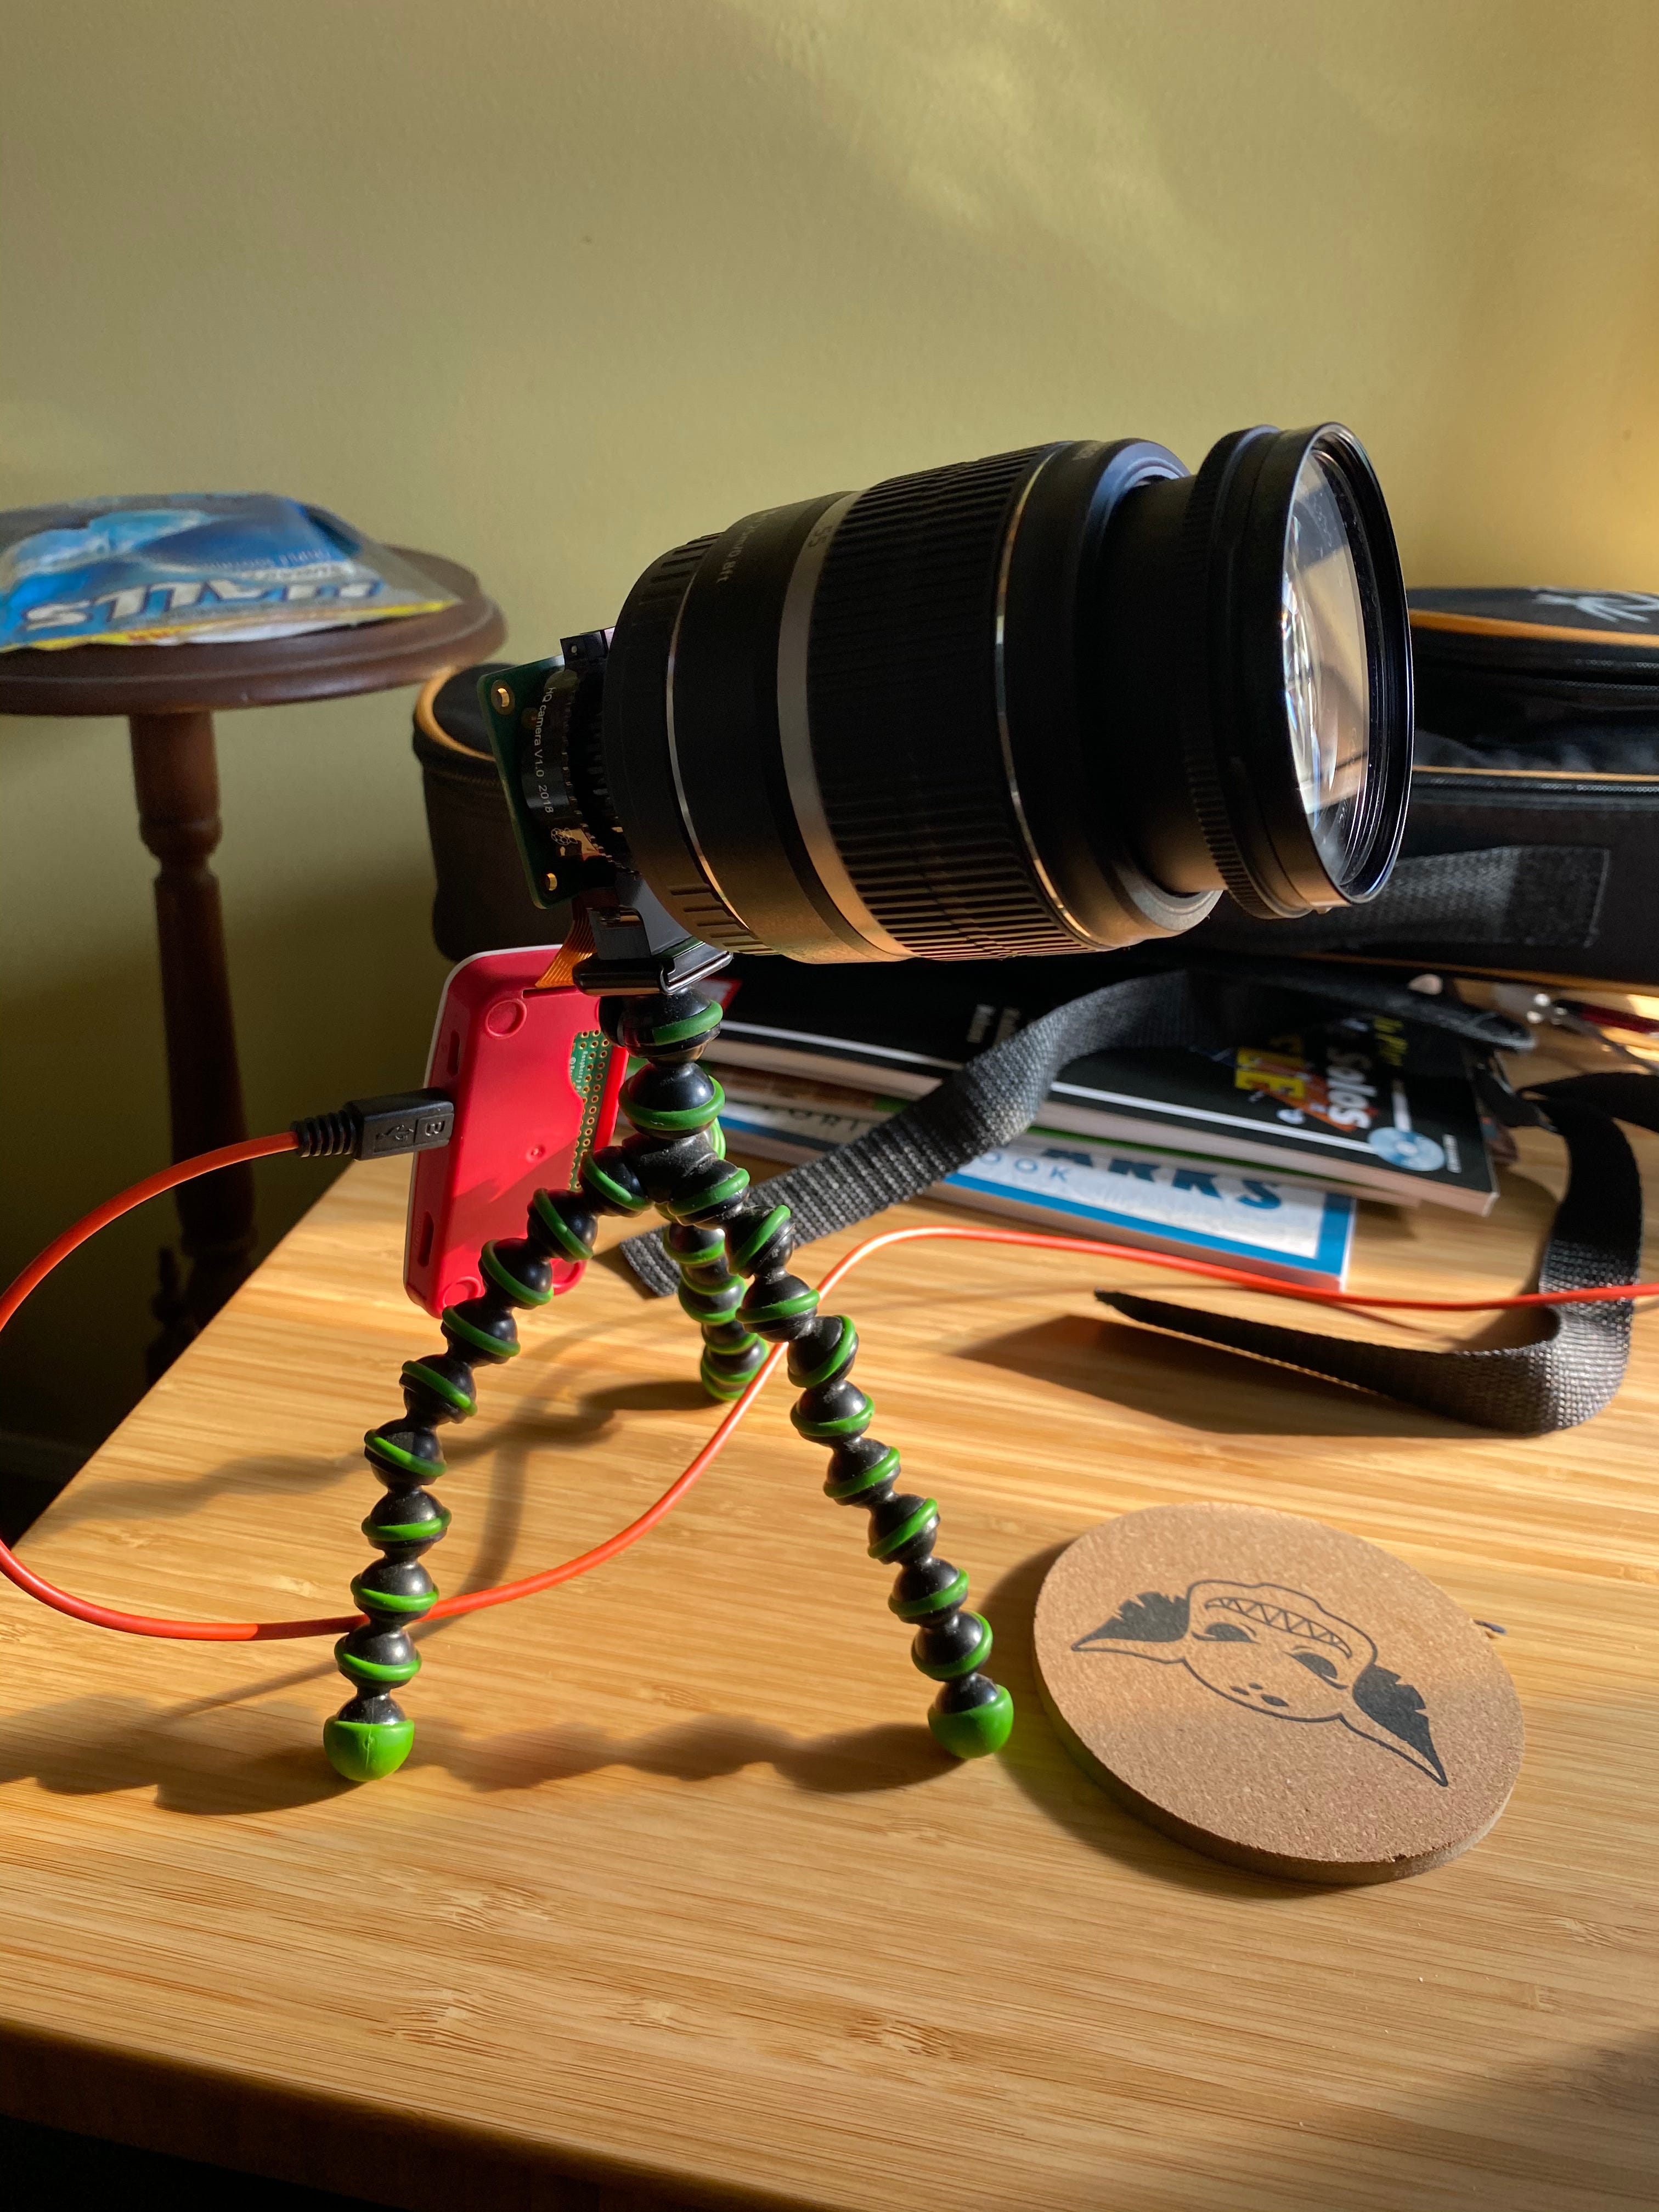
I was overwhelmed by the number of choices I faced. Every time I came up with a good solution for part of the design, I found several new challenges in other areas. I realized that that I needed to stop thinking in terms of pieces and start exploring the technical areas with the greatest number of unknowns, and for that, I was going to need to buy some extra hardware. I ordered a Raspberry Pi Zero W, a High Quality Camera, and the official telephoto and wide angle lenses; I also bought a Raspberry Pi 4 Model B to use to experiment with options for video flipping. (I’ll talk more about those experiments in the next issue.)
A Lucky Break
It took a few weeks for my parts to arrive, so I spent most of my time exploring how to interface the Raspberry Pi camera with my computer. I started with this article that described how to configure a Raspberry Pi to behave as a network-connected video camera (similar to a baby monitor or security camera). A followup article documented how to use a Pi Zero in “on-the-go peripheral mode”. And then, as I investigated that, I found Show-Me Webcam. This software combines several existing composable pieces: v4l2 for the video processing, uvc-gadget for the Pi to advertise itself as a USB webcam, and buildroot in order to create a custom image that will boot within a couple seconds.
I can’t overstate what a remarkable piece of software this is - not because the elements are novel or difficult, but because of the way it ties everything together into a coherent, reliable product. I plug in my Raspberry Pi, and within a couple seconds my computer recognizes it as a USB webcam. It feels like it’s not even there. It was a complete game-changer for me.
The software and electronics side of the camera had turned out to be a lot easier than I expected…but I still needed to figure out the optics.
Building The Camera
I enjoy photography, and somewhere learned that portrait photography should be done with a full frame lens with a focal length of 50-85mm. This seemed like a good starting point in selecting optics for my webcam - but it turns out to have taken me the long way around the block to where I wanted to go.
I have a decent 18-55mm zoom lens I’d planned to repurpose for this. I set up a prototype and took some pictures:
However, I hadn’t anticipated the impact of the much-smaller image sensor in the HQ Camera. Reducing the size of the image sensor has the same impact as cropping a photo, so wide-angle lenses act more like telephoto lenses. The High Quality Camera uses a Sony IMX477 sensor with a 1/2.3” sensor format and a crop factor of about 5.6. Even with my widest-angle 18mm lens, I’d get the zoom level I’d expect with a 100mm lens on a full frame camera, and not nearly as much background blurring as I wanted:
I’d tried the official Raspberry Pi telephoto and wide angle lenses, but the telephoto lens was still too close, and the wide angle was too wide. I bought this awesome 2.8-12mm C-mount varifocal zoom lens that would give me an equivalent focal length of 16mm-67mm and gave me some room to experiment; then, when I found a zoom level I was happy with, I purchased this 8mm lens, which had an equivalent full-frame focal length of 45mm. I think it looked pretty good.
Learning More About Lenses
I didn’t know the word for it at the time, but I’d been seeking to build a Normal Lens. From Wikipedia (emphasis added):
In photography and cinematography, a normal lens is a lens that reproduces a field of view that appears "natural" to a human observer. In contrast, depth compression and expansion with shorter or longer focal lengths introduces noticeable, and sometimes disturbing, distortion…Lenses with longer or shorter focal lengths produce an expanded or contracted field of view that appears to distort the perspective when viewed from a normal viewing distance…Such is the extent of distortions of perspective with these lenses that they may not be permitted as legal evidence
This GIF by Dan Vojtech shows how lens selection can distort a person’s features:

But there’s a key feature I was missing, and I didn’t realize it until months later when I first attempted to document my work. Although lenses are selected to avoid perspective distortion, the lens is not the cause of the distortion. From Wikipedia’s article on Perspective Distortion (emphasis added):
Note that linear perspective changes are caused by distance, not by the lens per se – two shots of the same scene from the same distance will exhibit identical perspective geometry, regardless of lens used. However, since wide-angle lenses have a wider field of view, they are generally used from closer, while telephoto lenses have a narrower field of view and are generally used from farther away. For example, if standing at a distance so that a normal lens captures someone's face, a shot with a wide-angle lens or telephoto lens from the same distance will have exactly the same linear perspective geometry on the face, though the wide-angle lens may fit the entire body into the shot, while the telephoto lens captures only the nose. However, crops of these three images with the same coverage will yield the same perspective distortion – the nose will look the same in all three. Conversely, if all three lenses are used from distances such that the face fills the field, the wide-angle will be used from closer, making the nose larger compared to the rest of the photo, and the telephoto will be used from farther, making the nose smaller compared to the rest of the photo.
I’d started by trying to calculate a focal length for my lens and worked backwards…but what I actually needed was increase the distance between my face and my camera. Since I wanted to present a particular view of my office on camera, I decided to move my camera as close to the opposite wall of my room as possible. I didn’t want the teleprompter screen to be any further away, so I built an extension tube out of an old shoebox.

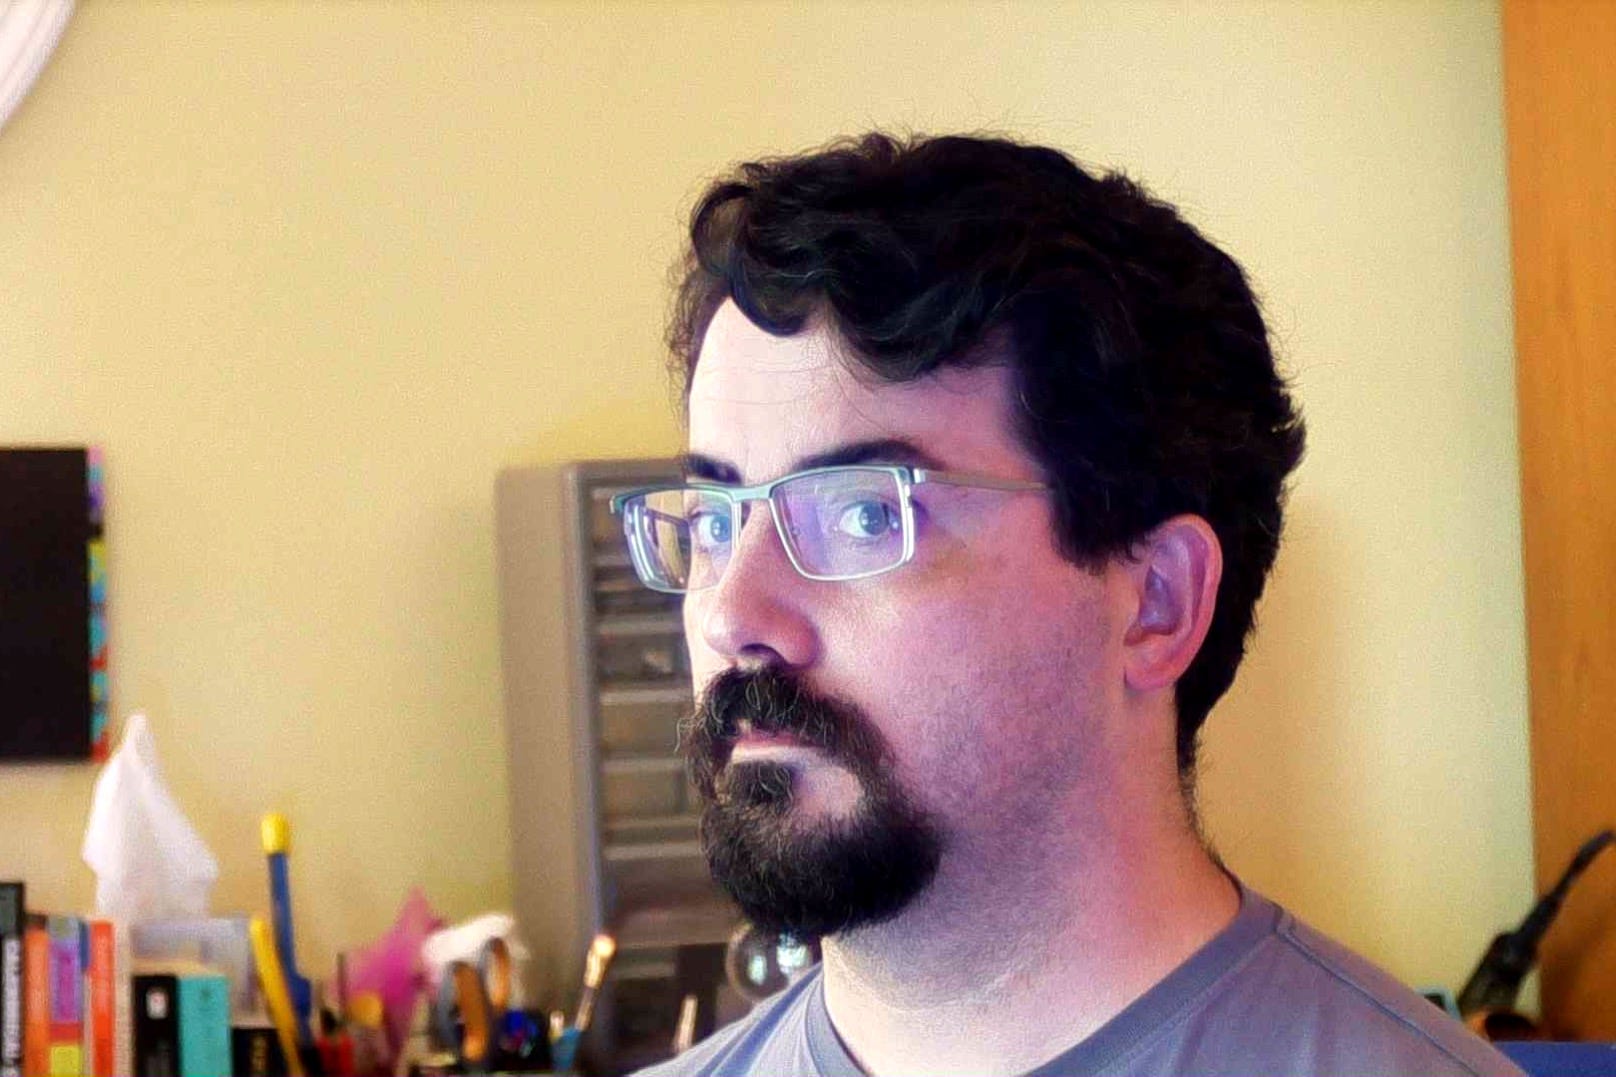
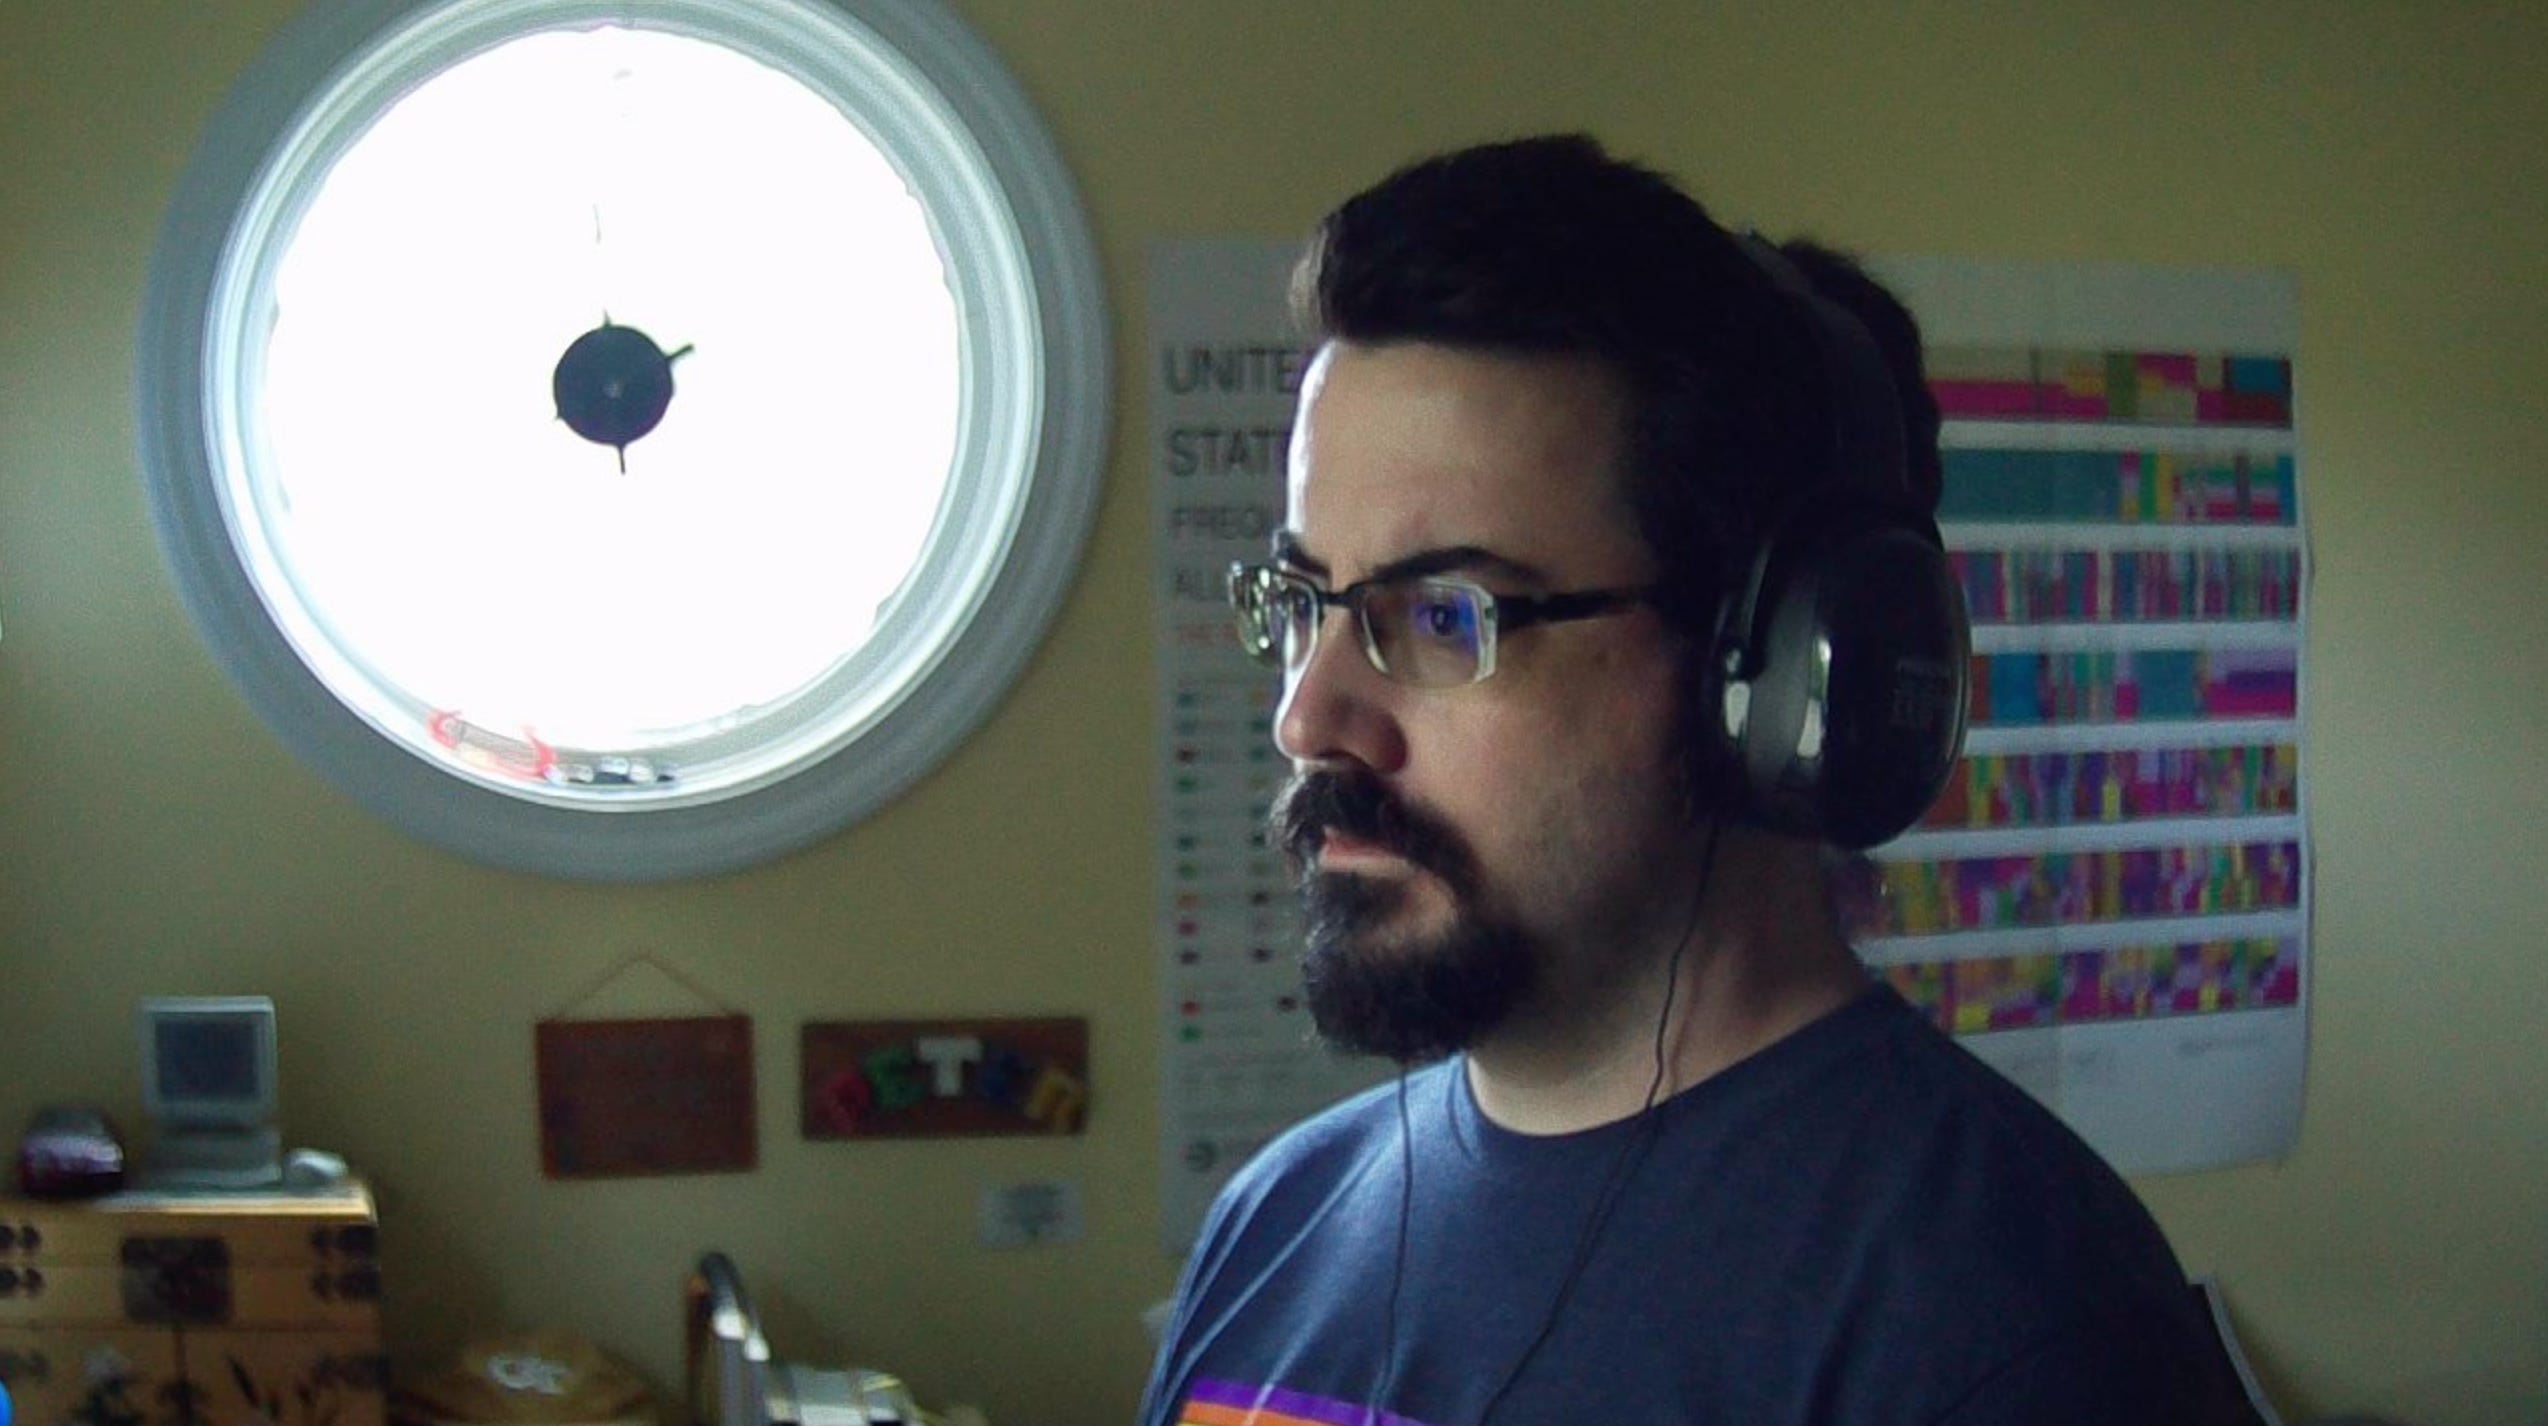
I had to revisit my lens selection again to get the head-and-shoulders perspective I was looking for - and in the end, the telephoto lens I’d bought at the beginning was perfect for this. The results have been excellent - it’s what I used to take the sideways headshot at the beginning of this post - and I now use this setup for many hours every day.
Living With Uncertainty
I started this piece expecting to say “I thought I needed to do A, but ha ha ha I actually could have done B and here’s what I learned about changing your mind”. But by the time I got to describing B, I realized the answer was actually C…or maybe 🍍 or 暃. A photographer chooses a focal length and distance from the camera as part of the overall image composition process, but there are a lot of other factors too, including where the viewer is expected to be relative to the picture they look at. A “normal” lens for a movie is different from a photo because the viewer is expected to be in a different place relative to the image. I didn’t think about that at all. And there are a bunch of other factors, too.
I was working in the technical arts, and I had unknowingly crossed from technical work into art. In both these areas choices are often informed by good practices but not defined by them. Reality has a surprising amount of detail, and learning a little bit more often leads me to realize I know less than I thought I knew when I started; my known-unknowns accumulate faster than my known-knowns. I had reasons for the decisions I was making, but they were based on a shallow knowledge of the field I was operating in. It was just a bunch of stuff that happened.
It occurred to me that this might help to explain why so many impactful companies are also terrible places to work. It’s well established that cultivating psychological safety improves creativity, and as an engineering manager I’ve focused my attention on creating environments where people can flourish. But it also seems that people can find that same feeling of safety simply through a deeply held feeling of “being right” - even in cases where “the truth” is difficult to substantiate or is even obviously different. Sometimes this conviction leads them to identify the moons of Mars and the spot on Jupiter, or decipher Linear B Greek, or guarantee Trial by Jury when founding a new republic. Sometimes a false belief is too convenient to check because it provides a compelling illustration about the risk of gradual change or of power being neutralized or simply provides a path home through the Alps. And sometimes, a false belief means you just build a product with poor market fit. Sometimes they ridicule you and then build monuments to you. And sometimes they just laugh at you because you’re a clown.
I built an awesome camera based on a bunch of naïve assumptions about photography. If I’d known what I didn’t know when I started, I might never have actually started. But I got where I wanted to go, however it is I got here, and in the end, I have a result I’m satisfied with.
Coda
I will talk through the final three parts of this camera project in future issues:
I’m going to talk about the awesome way I learned to mirror-flip my display;
I’m going to discuss all the complexities of attaching this setup to my desk;
I’m going to share a bunch of other little details that enhance my experience of videoconferencing.
However, writing this project up has taken a lot longer than I expected and it’s kept me back from the weekly posting schedule I’m striving to maintain - so you may see a few mini-posts on other topics before I finish off this series.
If you haven’t already, please subscribe – and thank you to everyone who has written to me or commented on my past issues!