Fledgehammer
Experiments in birdwatching

My family took a week off in July to learn about rockets. When we came back, we had a sparrow nest on our porch.
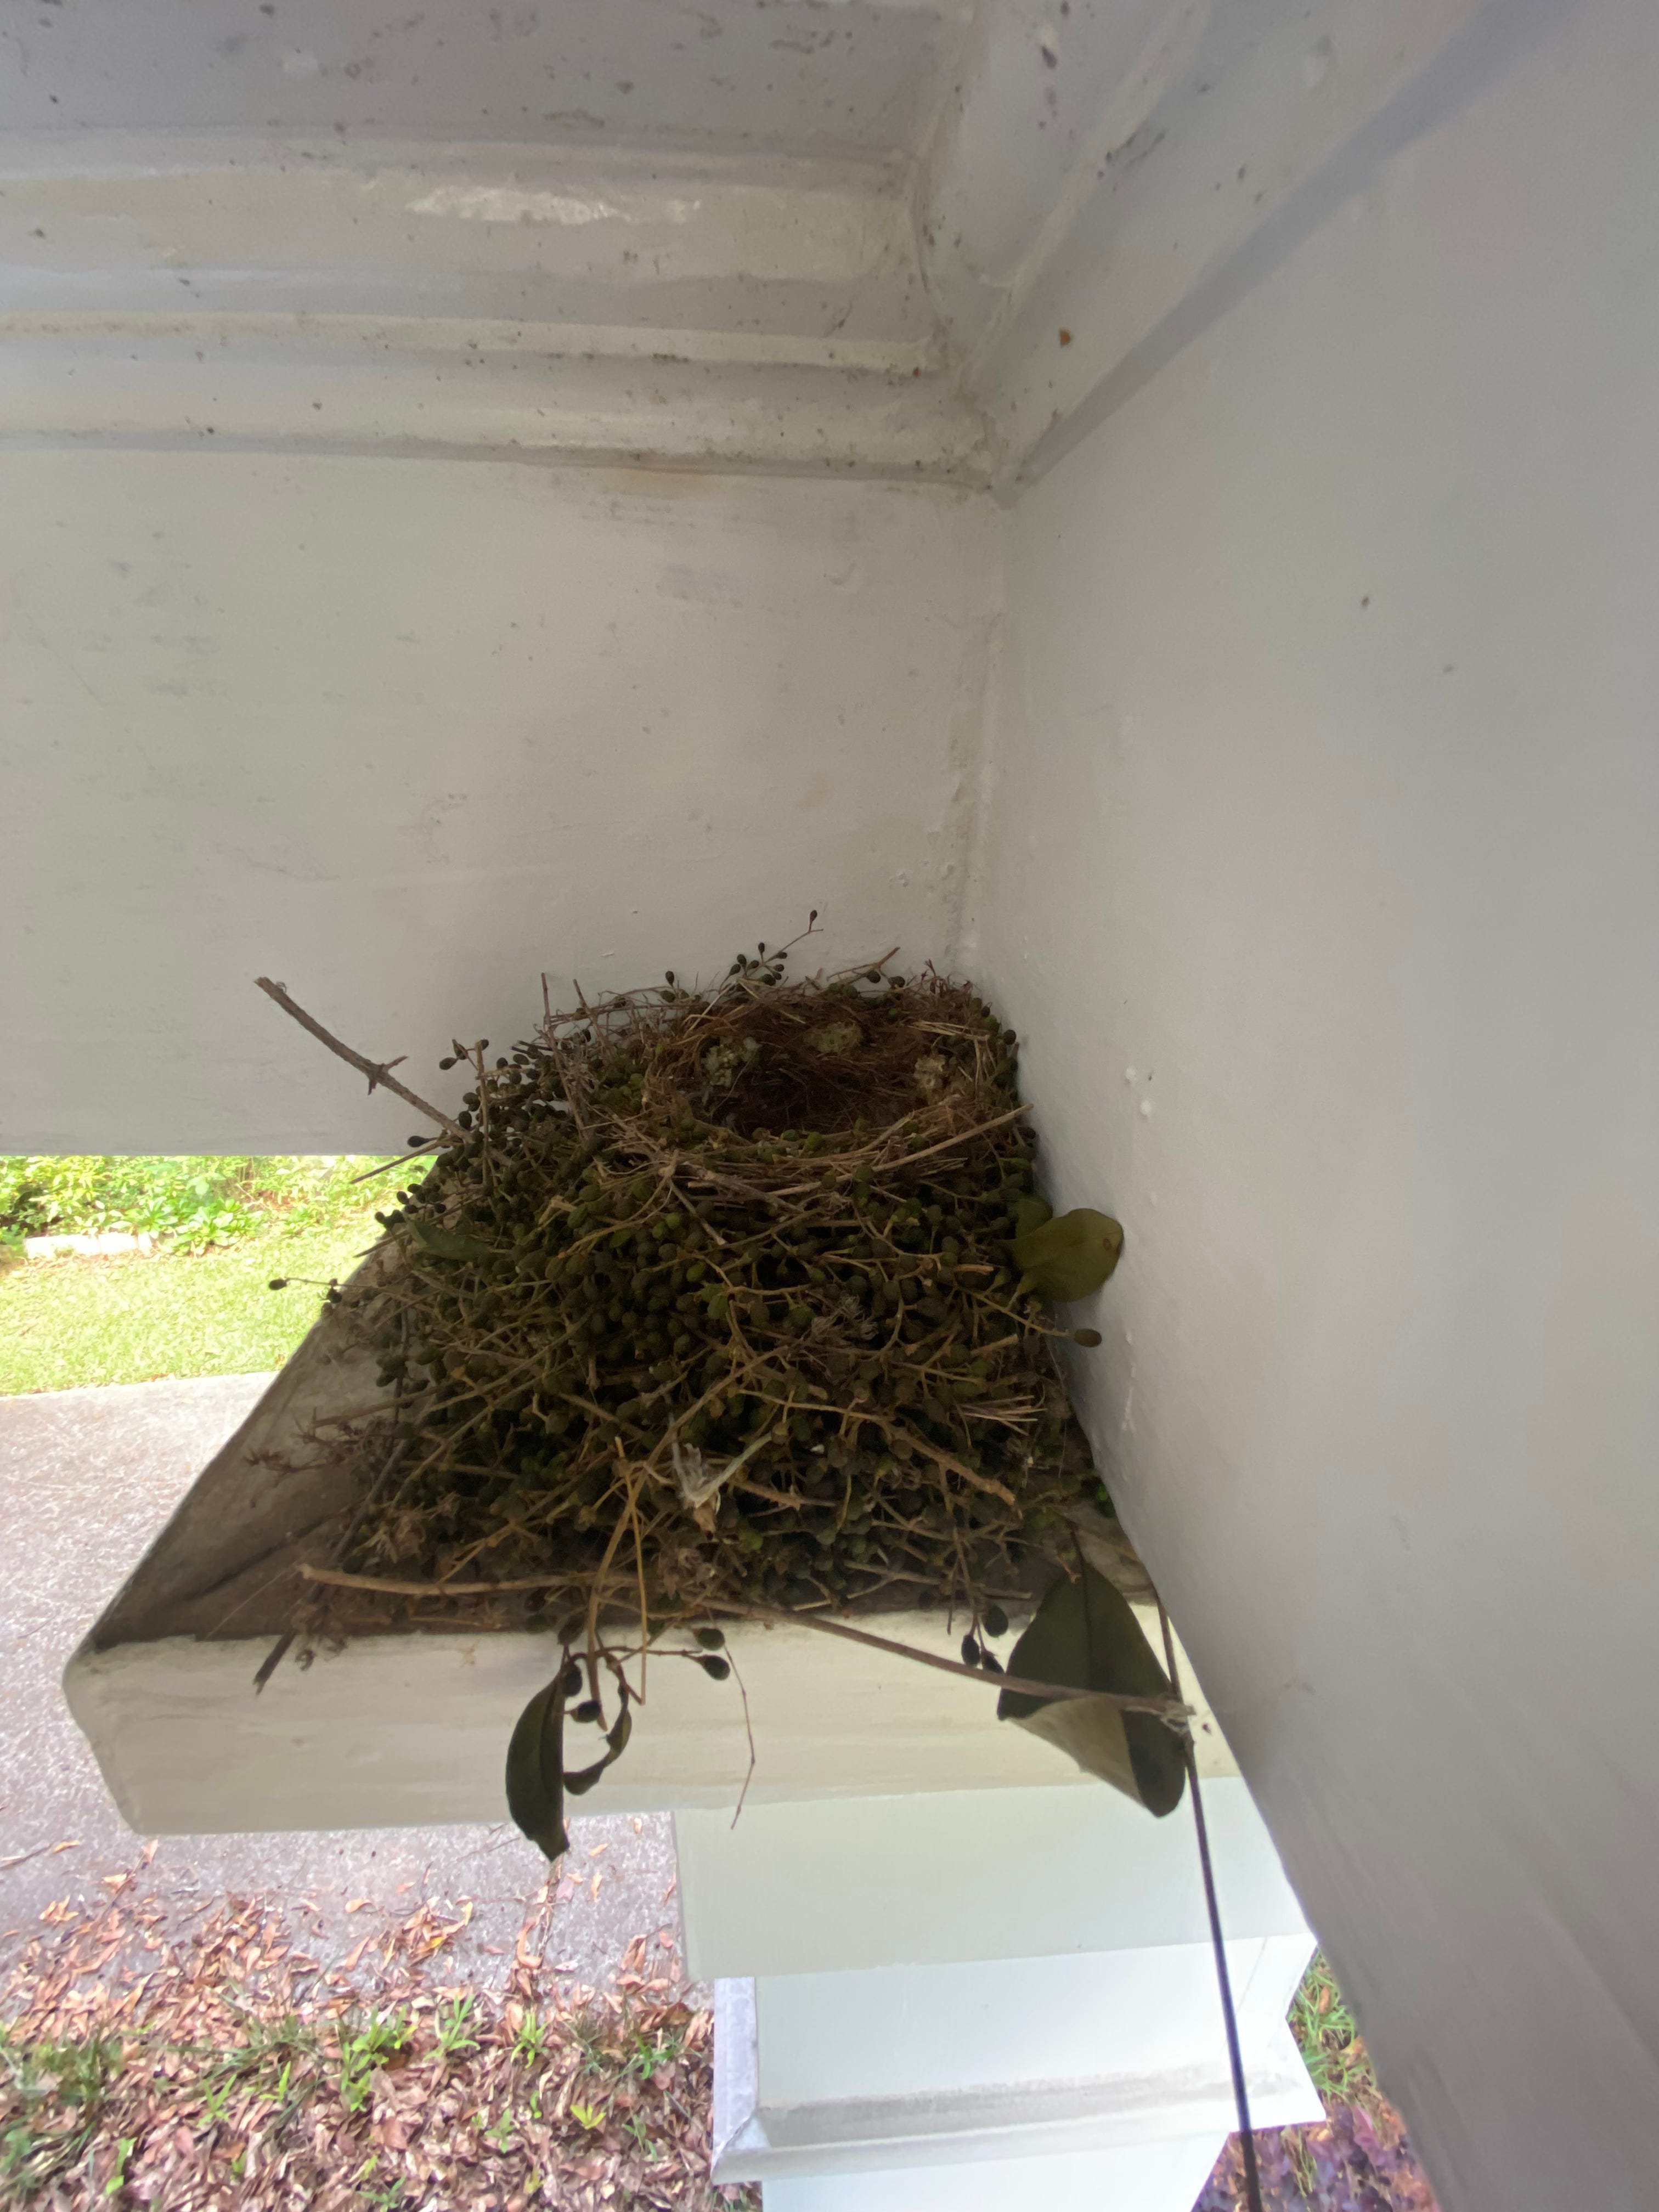
Atlanta is “the city in a forest”, and a fun side effect is there are birds everywhere: little brown birds, big predator birds, the occasional vulture or bald eagle. I’ve grown quite fond of the birds that nest in my yard. This unexpected nest seemed like a great way to learn more about my bird neighbors.
I’ve been trying to take on fewer projects at a time (and to finish them more quickly), and this was also a good opportunity to put that into practice. I don’t offer a lot of deep insight in this post, but there are plenty of cute baby bird videos.
Day 0: Getting Started
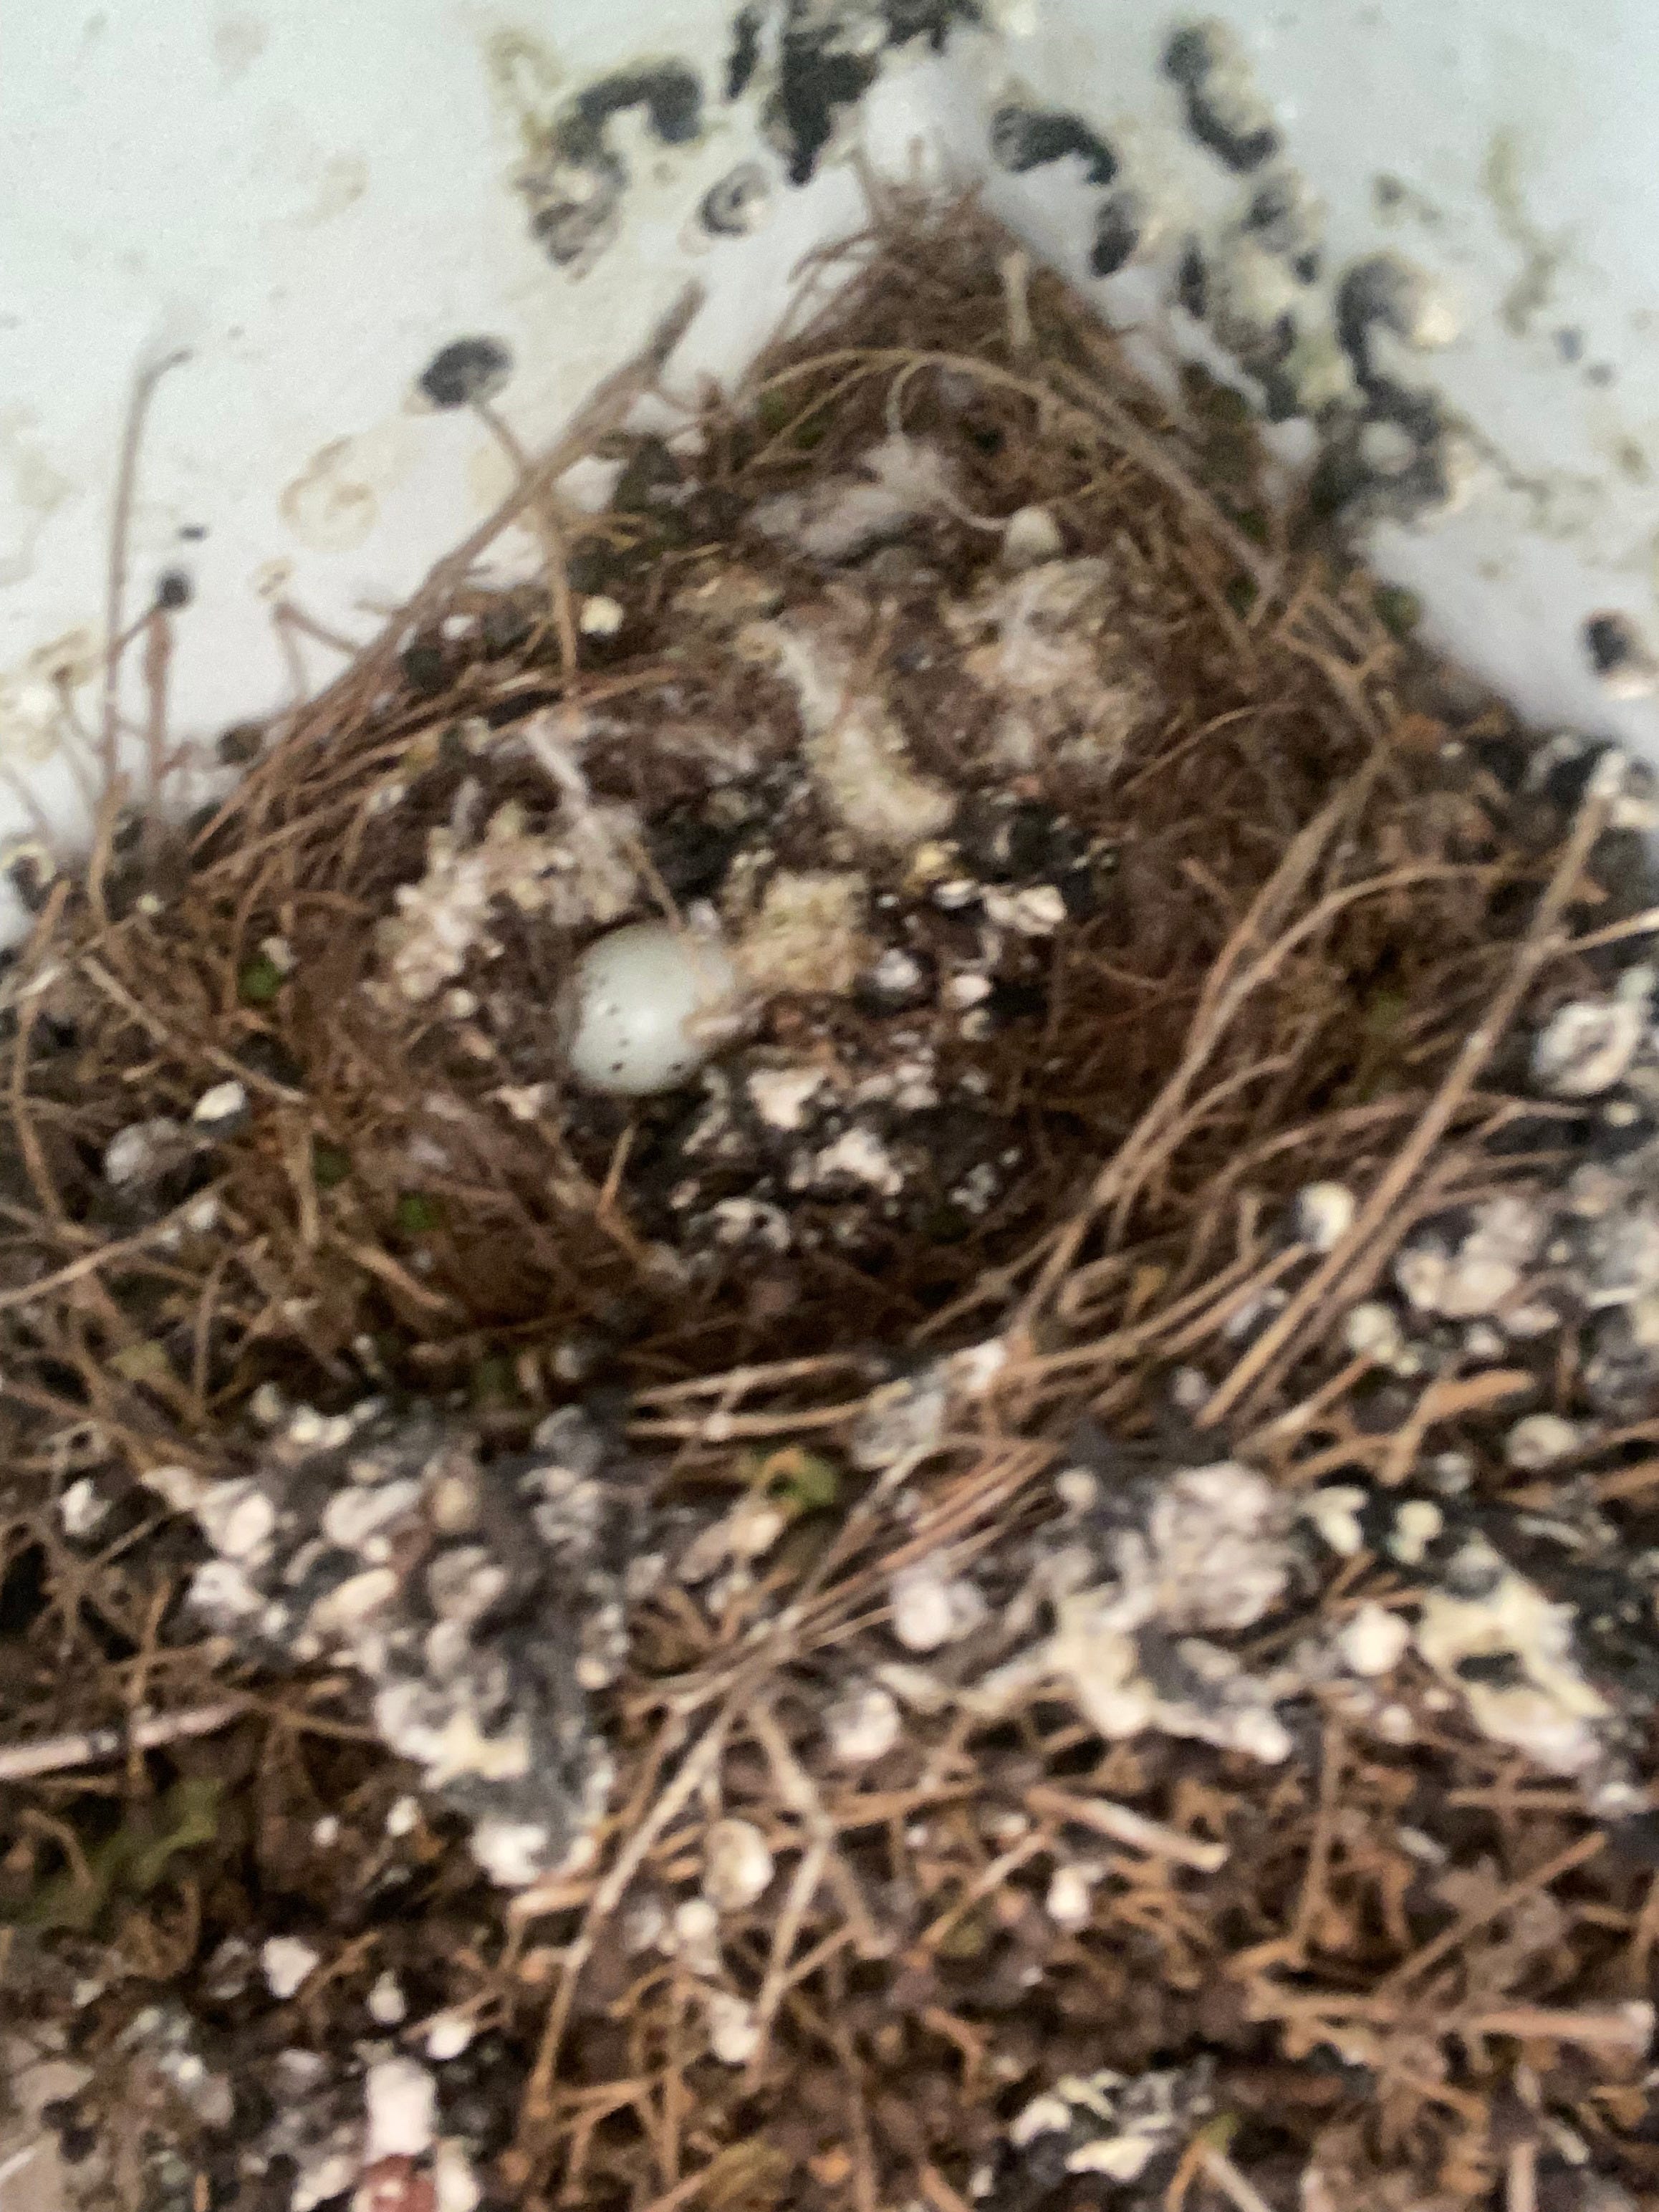
The nest had three eggs when I found it. I had no idea how long they’d been there, or how long it would take for them to hatch, so I ordered some parts on Amazon right away.
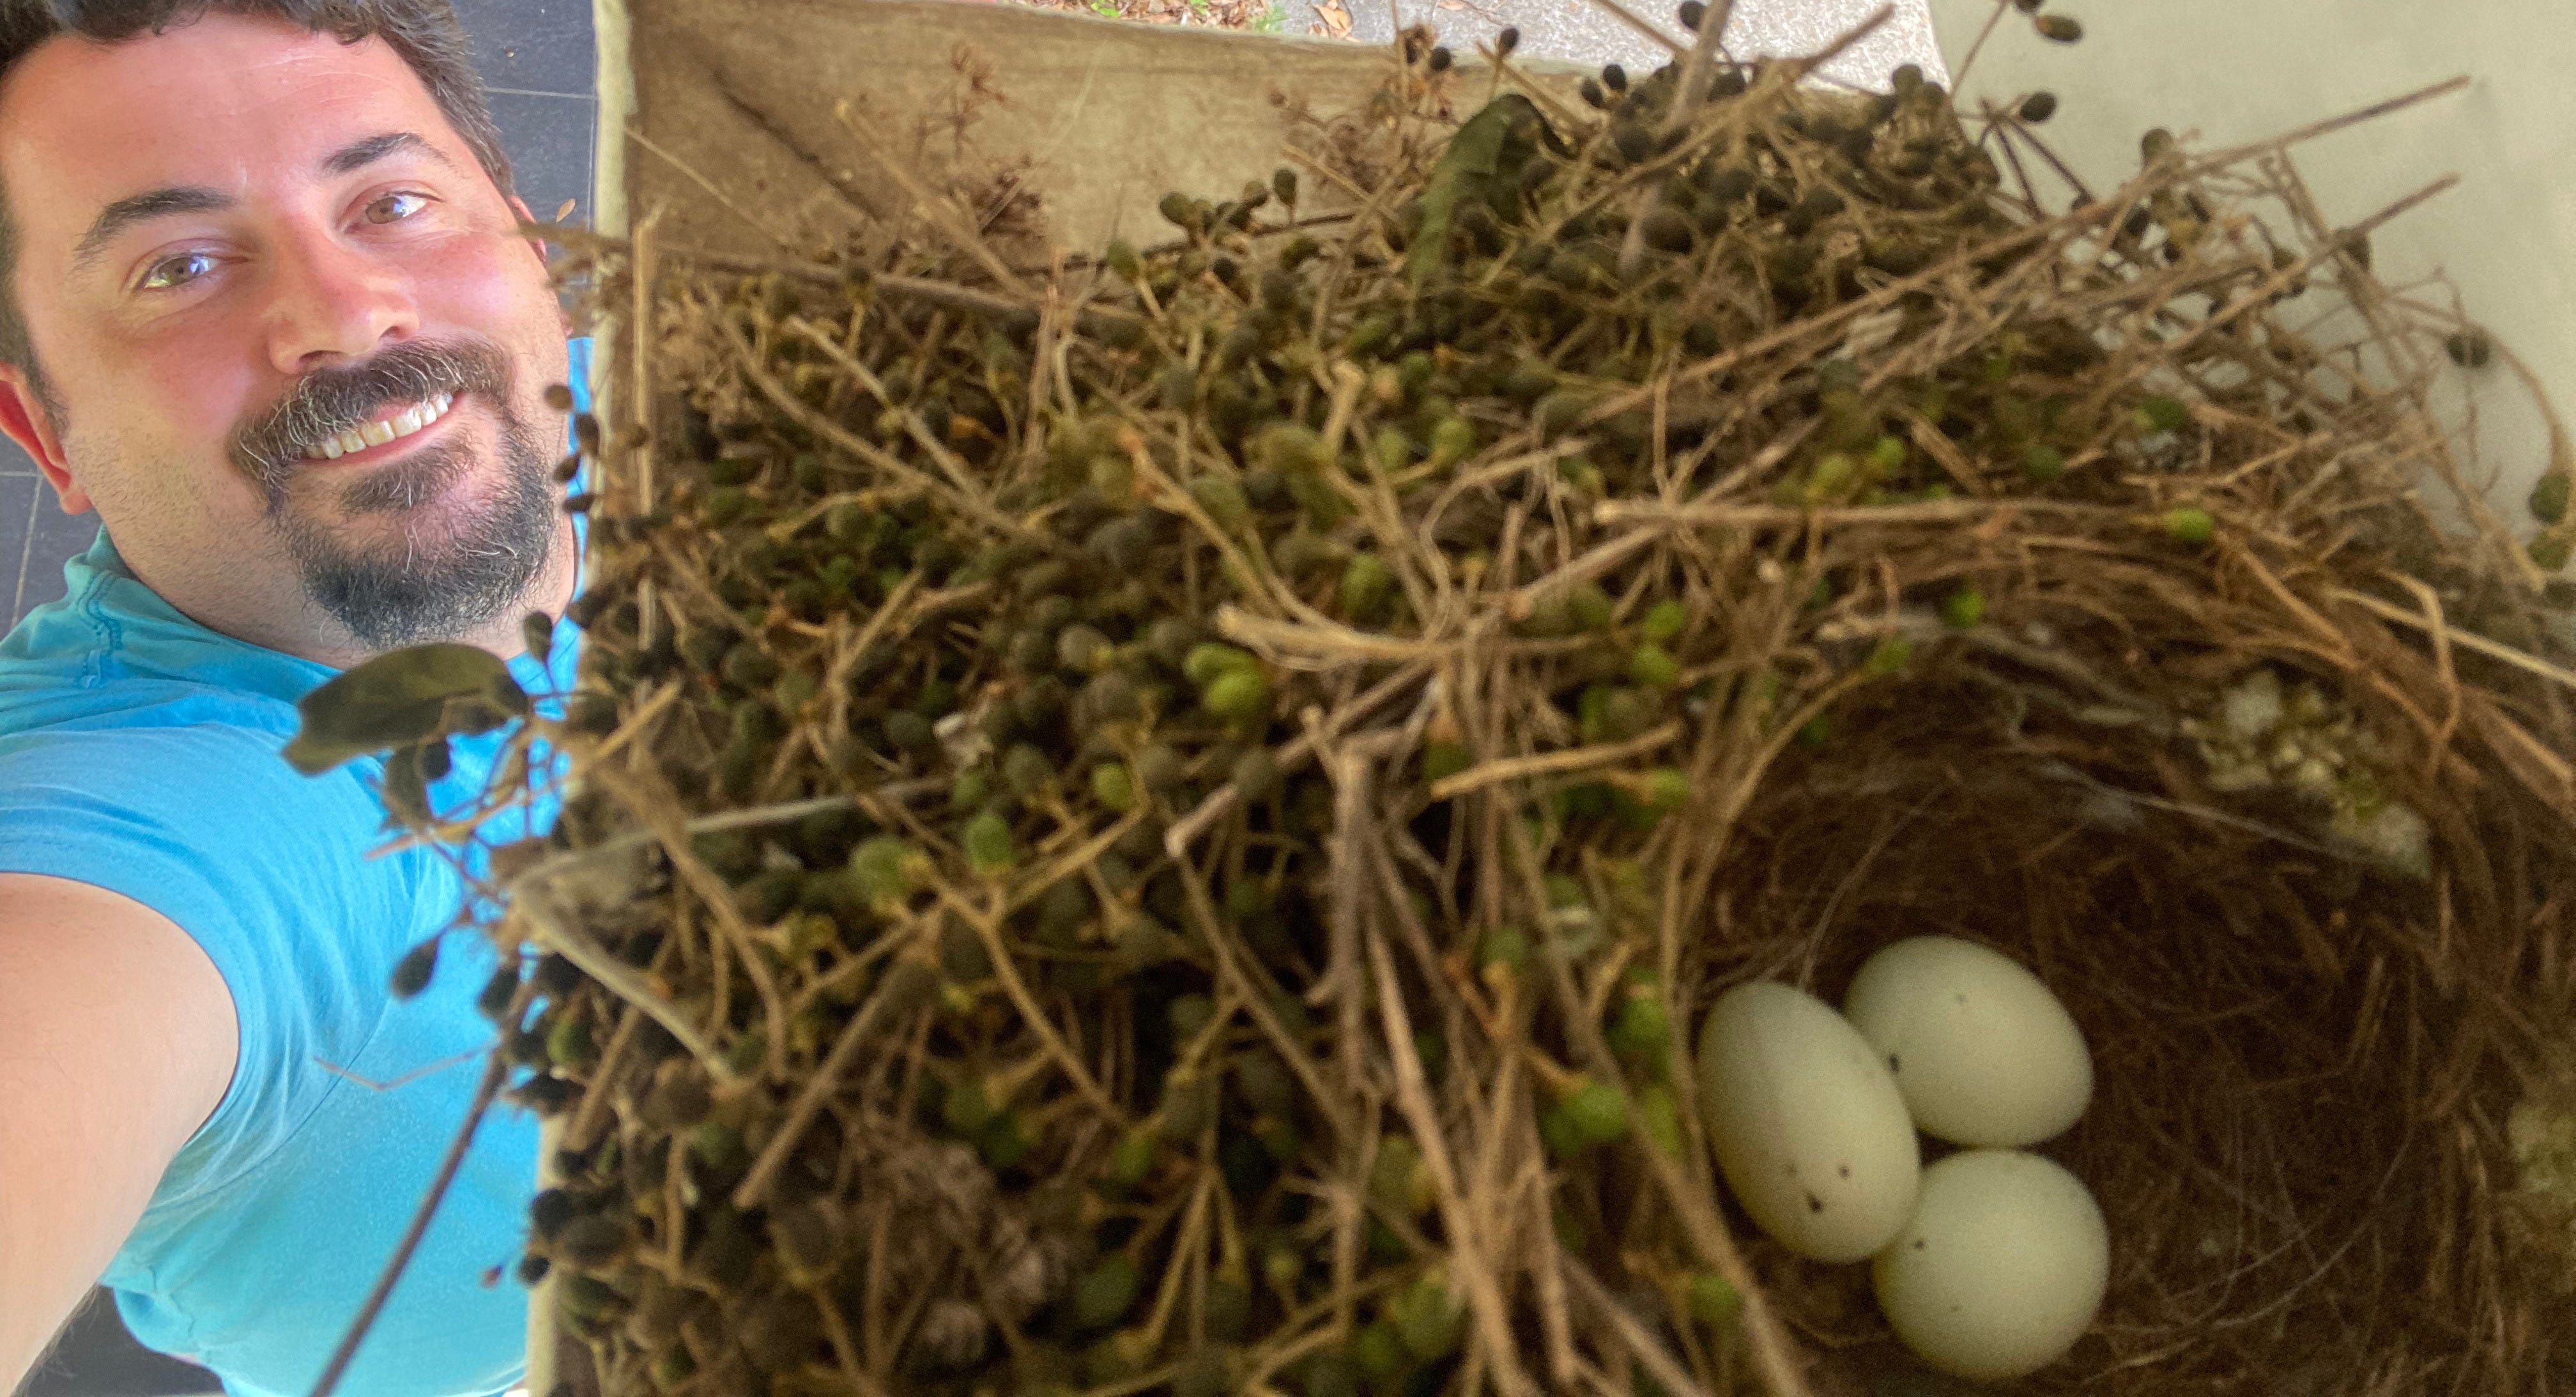
While I waited, I captured a couple videos with my phone:
Day 10: Building and Mounting the Camera
Here’s what I planned to build:
with an infrared camera
inside a waterproof enclosure that I could somehow mount to my porch
streaming video to Youtube
That’s more-or-less what I ended up with, but it took me way longer to get it working than it could have. I thought I already had an infrared camera - and only realized I didn’t after the enclosure had already arrived, so I had to wait a few extra days for another order of parts - and I’m not even sure it helped that much, since I didn’t have an IR light to illuminate the nest in the dark, and it meant all my daytime videos were washed-out and pink. In hindsight, I also missed a big opportunity to experiment with the software while I was waiting for the parts to arrive.
Even so, things came together well enough:


I then stealthily mounted the box to my front porch ceiling with gaffing tape.
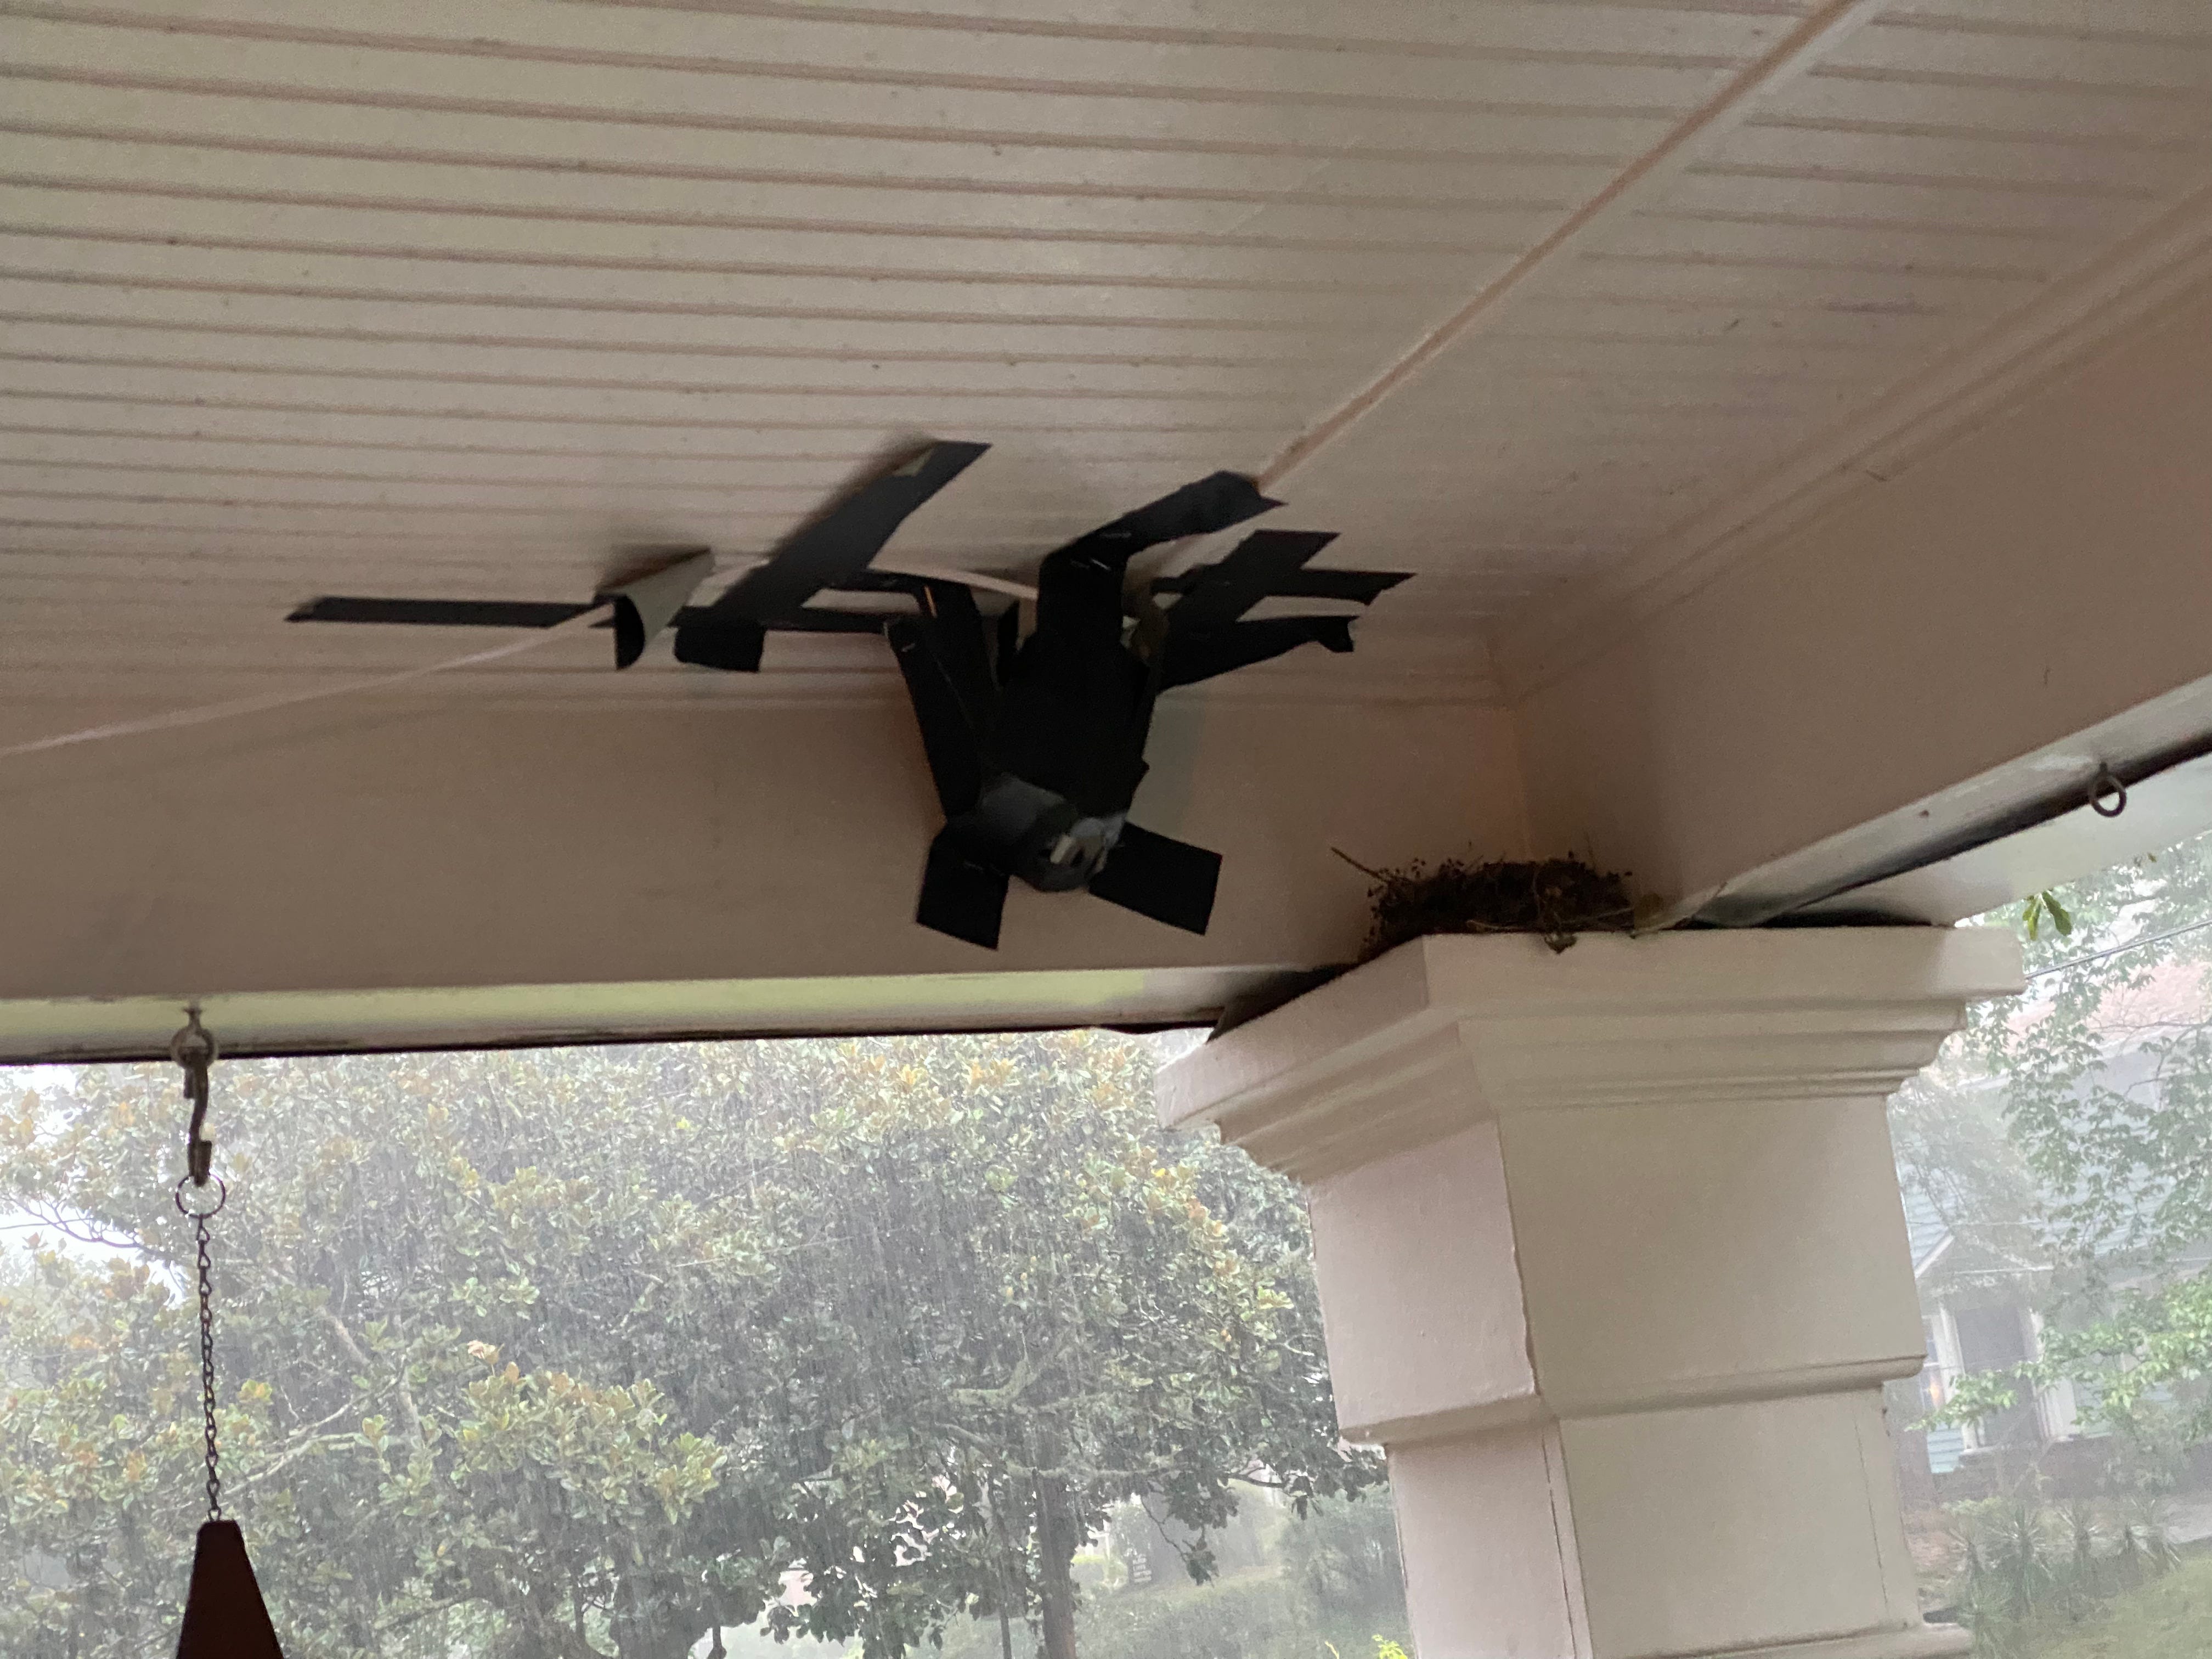
The tape started peeling almost immediately, so I added some strategically placed nails. When those started pulling out, I used a staple gun. That held…but this is probably a good time for me to publicly thank my wife for not giving me a hard time about doing any of this to our porch…
Anyway, my timing couldn’t have been any better; the first egg had just hatched a few hours before I got the camera mounted:
The bird parents were not at all sure about the camera when they first saw it. I don’t know if it was just the unexpected change in their environment or if they were seeing their reflection off the plastic…
…but soon both had resumed their normal routine:
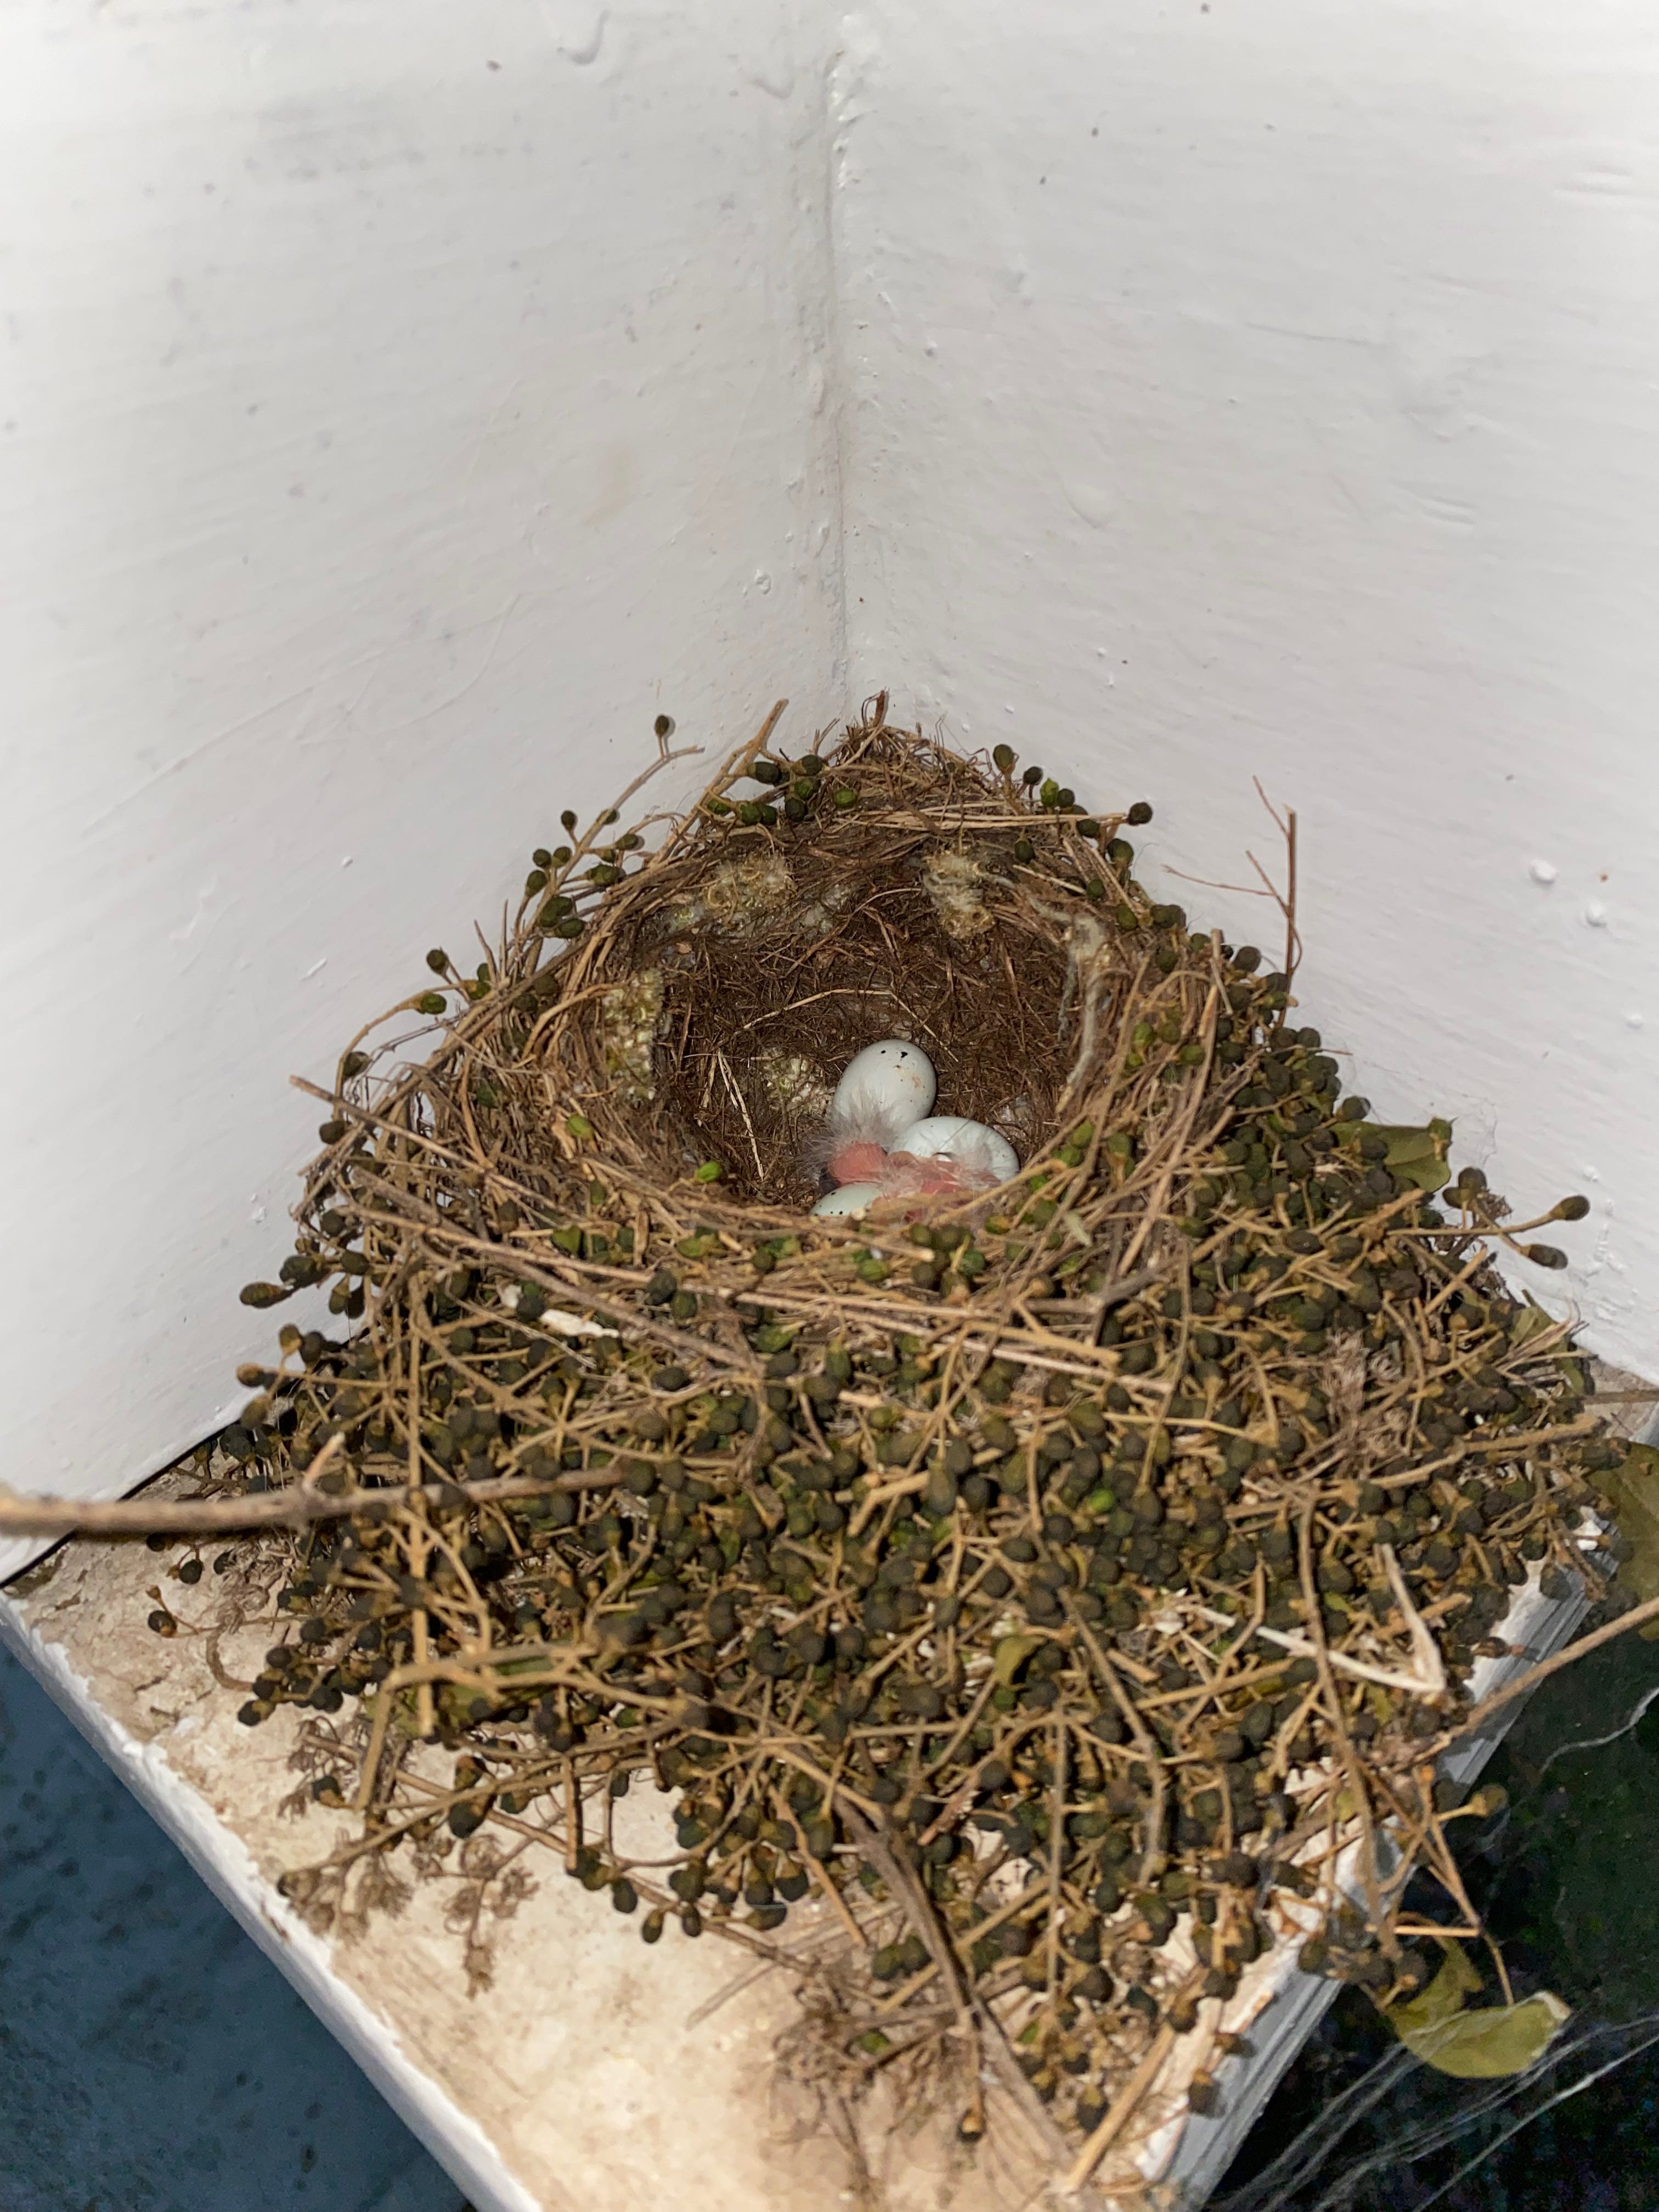
Day 14: Three Babies
Two more eggs hatched within a couple days of the first (the fourth never hatched)…
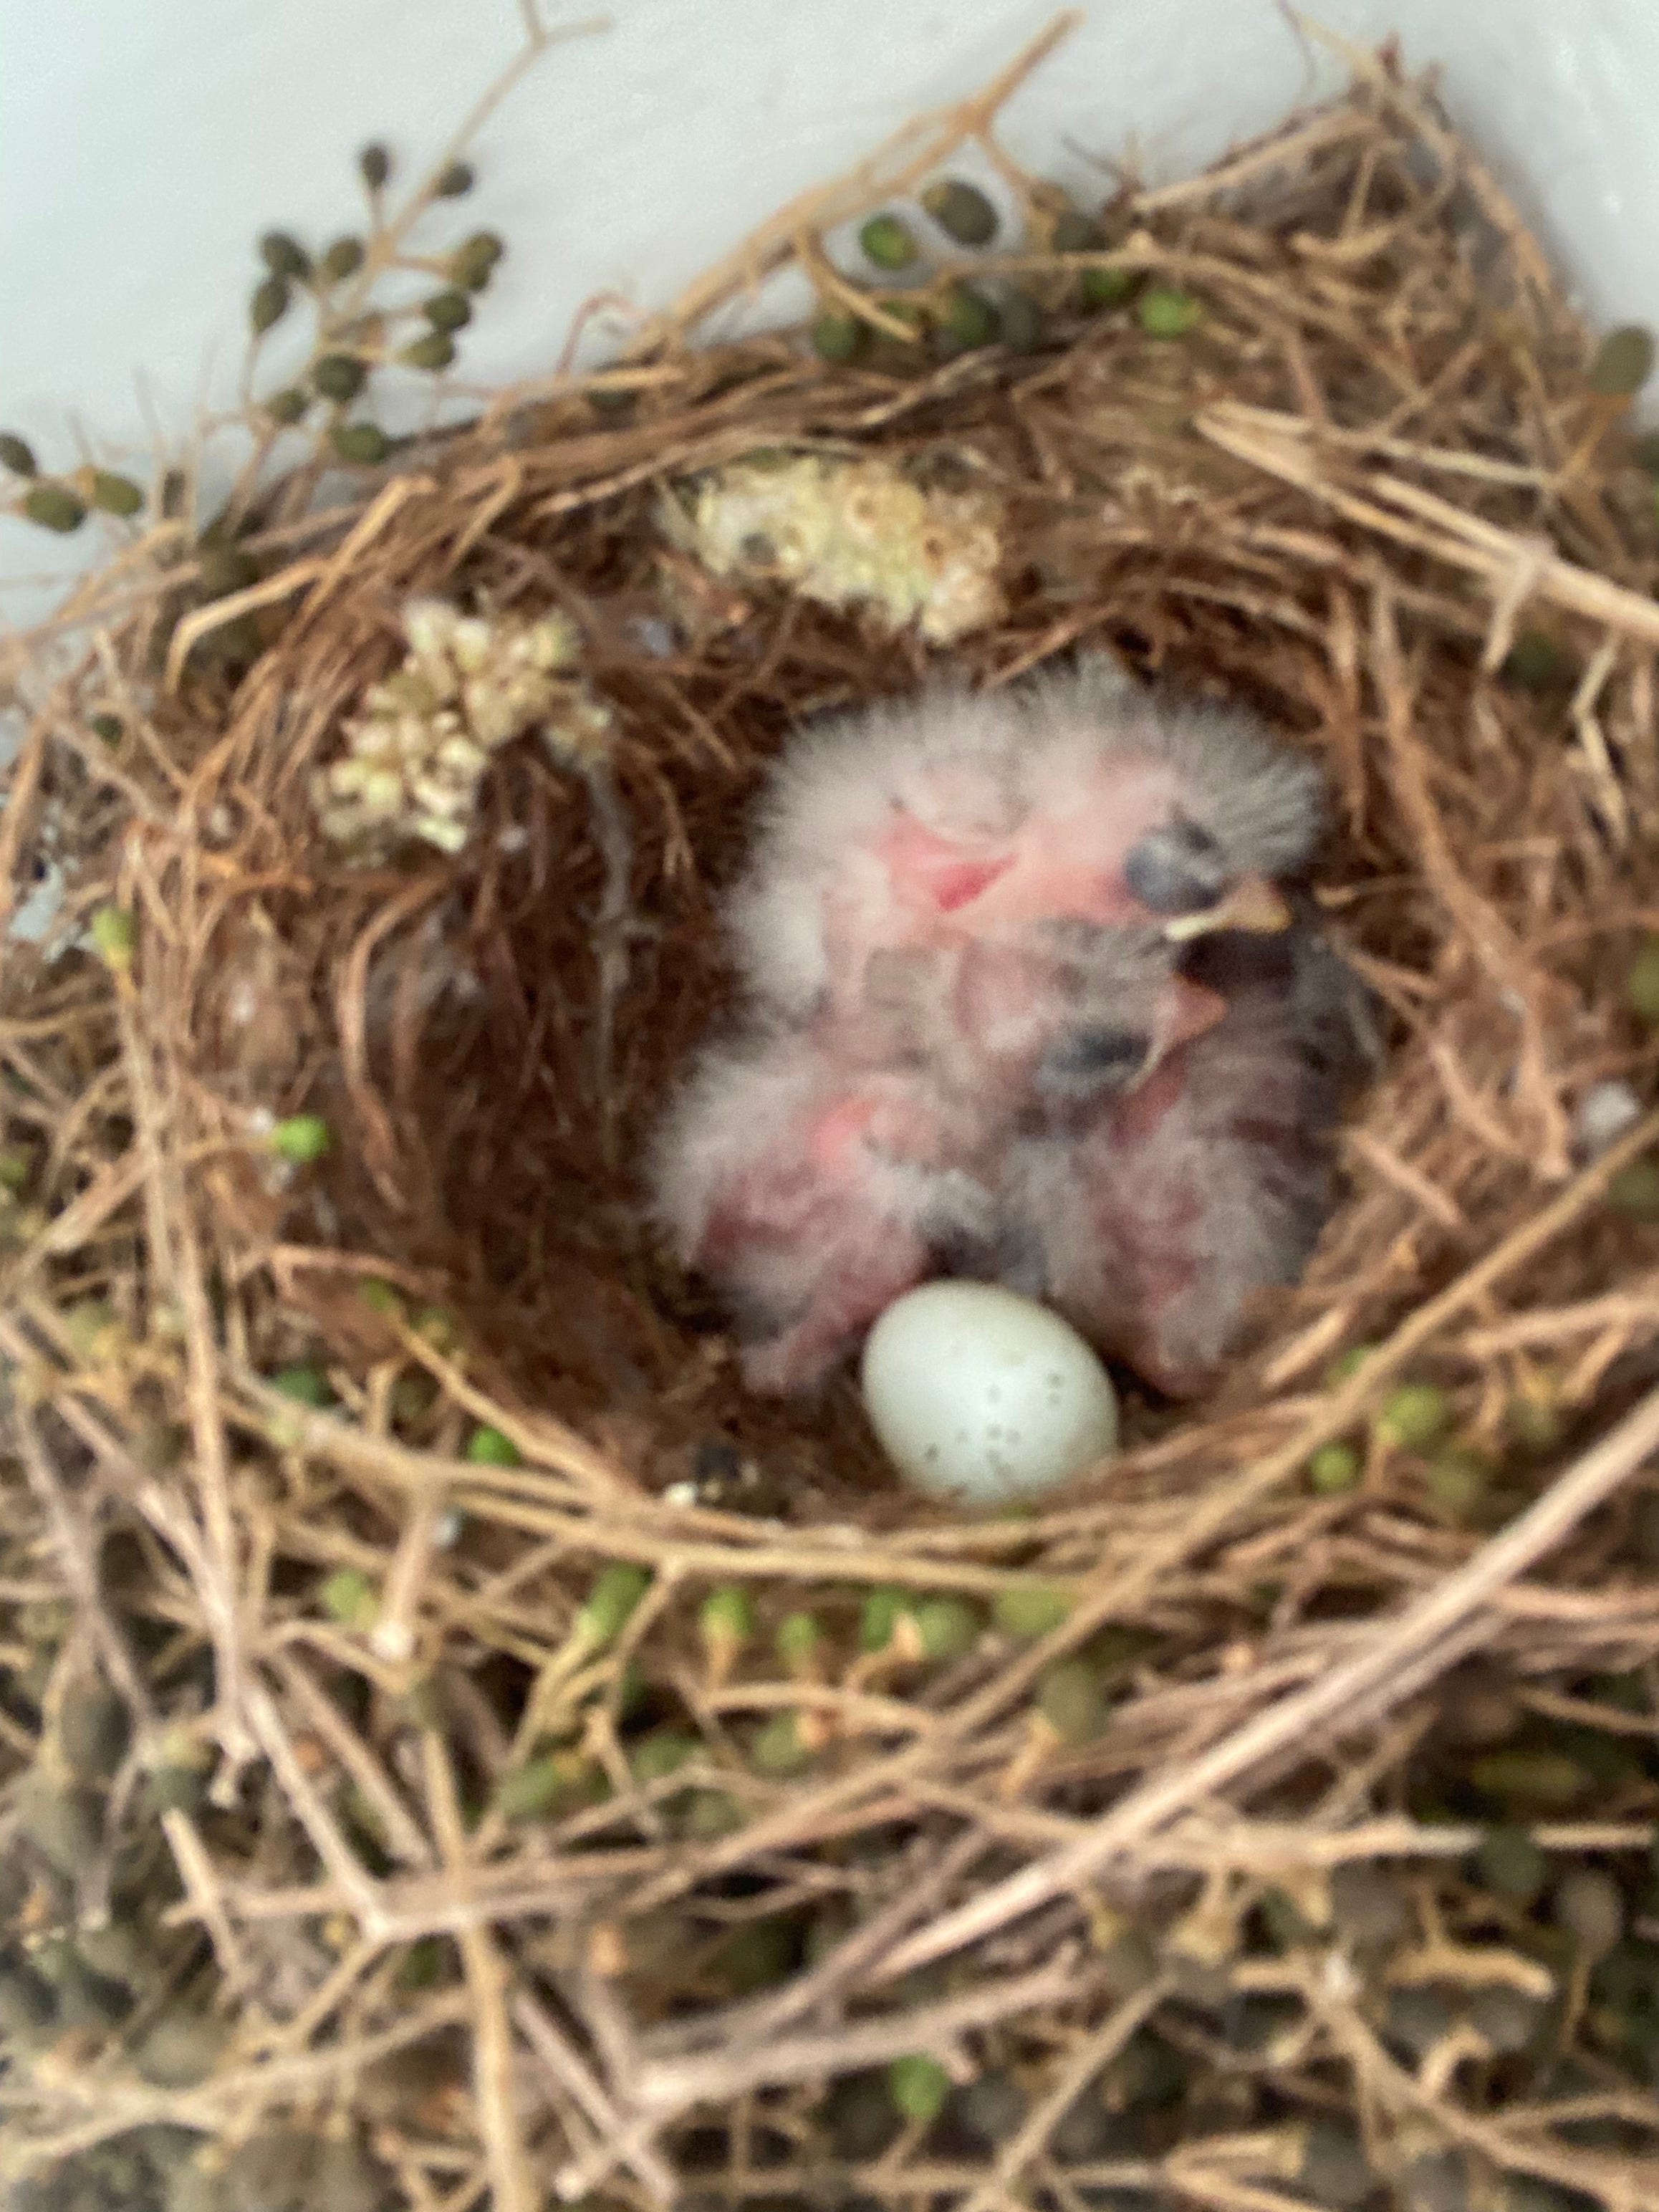
…and I finally started getting some cute videos of baby birds eating.
A Few More Technical Details
I initially streamed my video directly to YouTube using raspivid and ffmpeg using this command:
/usr/bin/raspivid -o - -t 0 -w 1280 -h 720 -fps 25 -b 2500000 -g 50 | /usr/bin/ffmpeg -re -ar 44100 -ac 2 -acodec pcm_s16le -f s16le -ac 2 -i /dev/zero -f h264 -i - -vcodec copy -acodec aac -ab 128k -g 50 -strict experimental -f flv rtmp://a.rtmp.youtube.com/live2/<STREAMKEY>Unfortunately, this stream was super unreliable: it would periodically timeout and I’d have to log back into the YouTube creator dashboard to restart it. I tried better power supplies for the Pi, set up a watchdog timer to reboot if something went wrong, and eventually determined that something was happening between the Pi and YouTube. I spent a lot longer on this part than I planned to and never figured out what was going wrong. I started down the path of automating the process of restarting the stream from YouTube…but then I found a giant shortcut.
My Synology NAS includes a Surveillance Station feature for monitoring home security cameras, and I realized I might be able to just stream to that instead of YouTube. This turned out to be incredibly easy: I used this package to publishing V4L2 video as an RTSP stream and then just told my Synology to connect to the Pi as an IP camera. One unexpected benefit was the automatic motion detection: I could easily skim through the day and see any time something interesting happened with the birds.
Growing Up
It took about two more weeks for the babies to grow up:
Leaving the Nest
It was really important to me to to be able to see the birds leave the nest for the first time. “Leaving the nest” is often depicted a certain way in media and culture, and I’m convinced that this still impacts the way some parents think of “sending their children into the world”. I wanted to see what leaving the nest looked like for these birds. When I saw how big the birds were in that last video on Day 29, I thought I’d better prioritize building a second wide-angle camera. But I was too late - when I came back from a drive that day, the nest was already empty:
This is the moment when all the bird cam setup work really paid off. I went back and watched my video feed for the morning and got to see each of the babies leave one-by-one.
Huey was the first to go, at about 8:00 AM. You can see Dewey is just itching to go too, but doesn’t quite make the leap.
About 30 minutes later Mama showed up with another snack, and this time Dewey is ready to go for good.
Louie keeps waiting for mama to come back, but after three hungry hours finally decides to root hog or die:
When mama finally does come back a few hours later, there’s nobody there.
I left the camera monitoring for another week to confirm, but this was the last time any of them came back to the nest.
Coda
I liked being able to watch the birds all though the day, so I decided to transplant the bird camera to my back yard to watch our hummingbirds. It turns out my waterproof enclosure wasn’t so waterproof after all - the gap created by running the USB cable out of the box left more than enough room for water to get in - so I filled up the box with rice and added a layer of electrical tape around the seam. So far, it’s kept working for two months without any issues…


…and now I can watch our hummingbirds, even in the middle of a rainstorm:
Love this!